
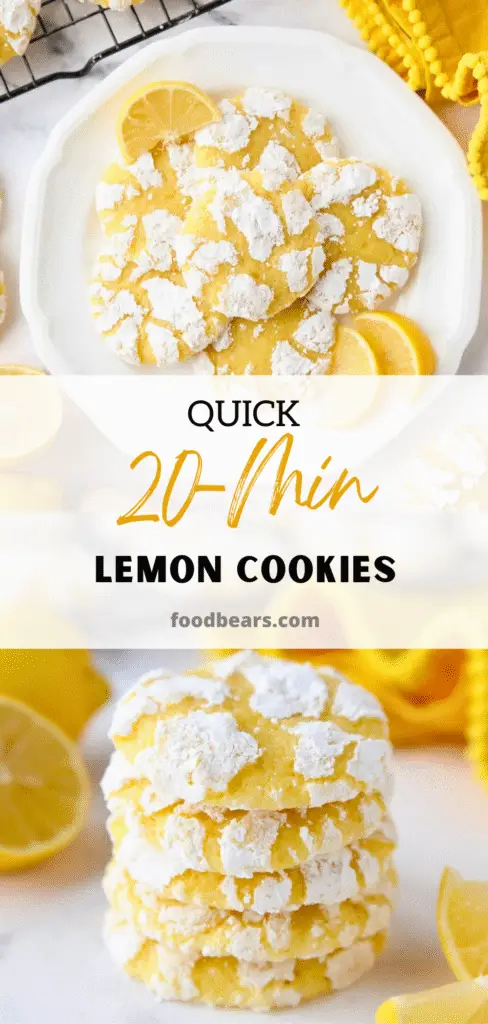
If you love cookies with a fresh flavor and that soft, fudgy texture, these lemon crinkle cookies are about to become your new obsession.
They’re bright, bold, and unbelievably satisfying, the kind of treat that disappears within minutes at a gathering. Whether baking for a party, gifting homemade goodies, or treating yourself, these cookies deliver joy in every bite.
This blog post will walk you through the step-by-step lemon crinkle cookie recipe based on Preppy Kitchen’s popular method. It’s loaded with flavor, super simple to make, and the results are stunning. Let’s get into the delicious details!
🍋 Why You’ll Love These Lemon Crinkle Cookies
If sunshine had a flavor, these cookies would be it. These lemon crinkle cookies strike the perfect balance between sweet and tangy, making them ideal for anyone who enjoys a bright citrus dessert with a soft, melt-in-your-mouth texture.
Here’s why they’ll become a favorite in your baking rotation:
- Incredibly Lemony: These cookies don’t just whisper lemon; they shout it in the best way. You’ll use lemon zest and juice, creating a punchy, zesty, and refreshing flavor.
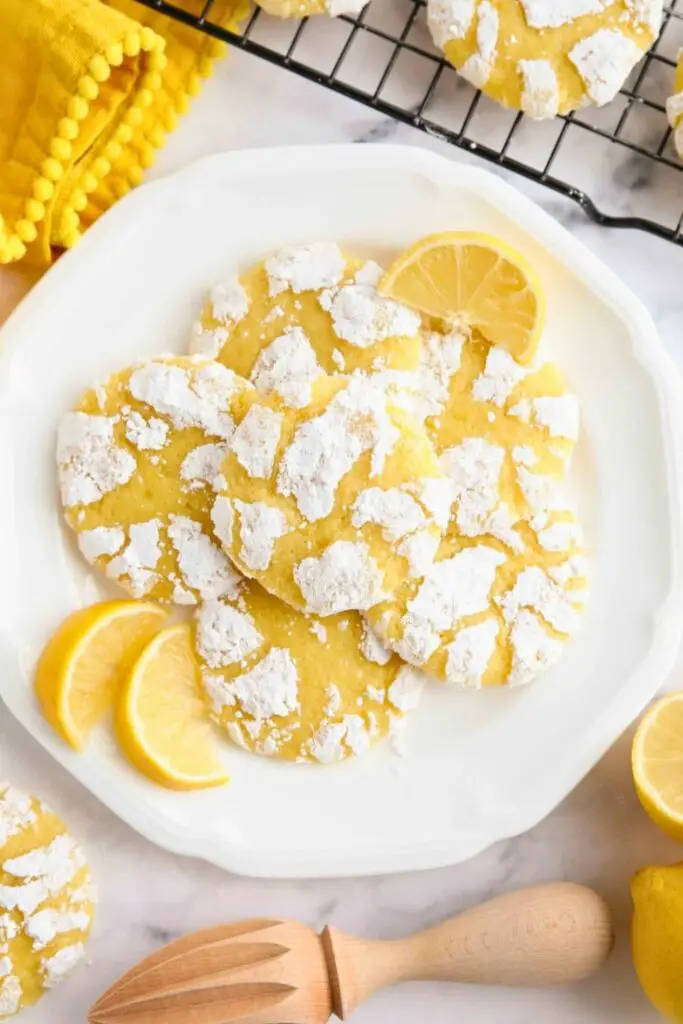
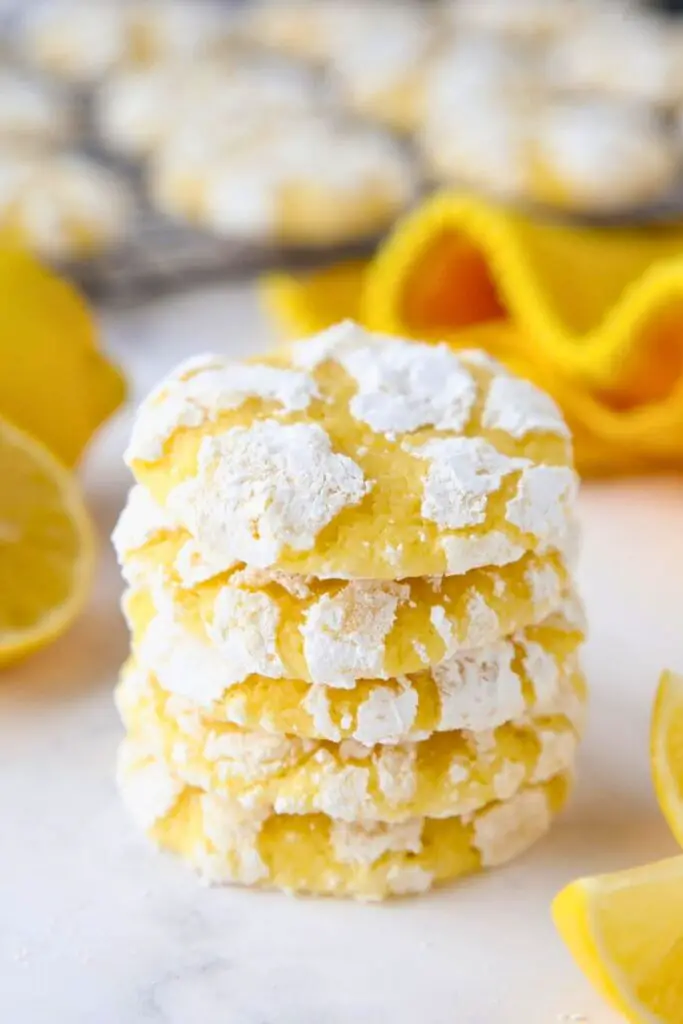
- Gorgeous to Look At: Once baked, their powdered sugar coating gives them a beautiful crackled appearance. They look like little snow-dusted lemon drops, which makes them perfect for cookie platters or gifting.
- Soft & Fudgy Texture: Unlike traditional crunchy cookies, lemon crinkle cookies have a tender, almost brownie-like center. That soft bite contrasts perfectly with the slightly crisp edges.
- Easy to Make Ahead: The dough needs chill time, so you can make it the night before and bake fresh cookies whenever you’re ready. You can also freeze dough balls for future baking.
- Crowd-Pleaser: These cookies are ideal for spring and summer parties, brunch tables, potlucks, or cozy afternoon tea. Even people who “don’t love lemon” usually change their minds after one bite.
Bottom line? These cookies are equal parts elegant, comforting, and fun to make.
🧾 Ingredients You’ll Need
Here’s a complete breakdown of what you’ll need for this recipe. All ingredients are simple and easy to find, with lemons being the show’s star.
| Ingredient | Amount | Purpose |
|---|---|---|
| Granulated sugar | 1 cup (200g) | Sweetens and blends with lemon zest |
| Lemon zest | 1–2 lemons (1 tbsp zest) | Adds intense lemon aroma and flavor |
| Salt | ½ tsp | Balances the sweetness and enhances flavor |
| Eggs (room temp) | 2 | Adds structure and richness |
| Lemon juice | ¼ cup (60 ml) | Provides tart citrus punch |
| Melted unsalted butter | ½ cup (113g) | Adds fat and fudgy texture |
| Vanilla extract | 1 tsp (optional) | Enhances overall flavor with warm notes |
| All-purpose flour | 2 ⅓ cups (280g) | The base of the dough provides structure |
| Baking soda | ½ tsp | Helps the cookies rise and crack |
| Powdered sugar | ¾ cup (approx., for rolling) | Creates the crinkle top and adds sweetness |
Tip: Always use fresh lemons. Bottled lemon juice lacks the zesty depth and fragrant oils of freshly squeezed and zested lemons.
👨🍳 Step-by-Step: How to Make Lemon Crinkle Cookies
These cookies are easy to make, but every step matters for the perfect flavor, texture, and that signature crinkle top. Let’s break it down.
1. Zest the Lemons and Infuse the Sugar
Mix 1 cup (200g) of granulated sugar into a large bowl.
Next, grab 1 to 2 lemons and zest them directly into the bowl. You’re aiming for about 1 tablespoon of zest, roughly what you’ll get from two average-sized lemons.
Pro Tip: Use a microplane or fine grater to zest only the bright yellow part of the peel—avoid the bitter white pith underneath.
Once the zest is in the bowl, add ½ teaspoon of salt, then get your hands on:
Rub the zest into the sugar with your fingertips for about a minute.
This helps release the natural lemon oils, turning your sugar fragrant and slightly yellow-tinted. It’s a small step, but it makes a huge difference in flavor.
2. Add Eggs, Lemon Juice, Butter, and Vanilla
Cut the lemons you just zested and squeeze out ¼ cup (60 ml) of lemon juice. Make sure to strain out the seeds.
To the sugar-zest mixture, add:
- 2 large eggs (room temperature)
- ¼ cup lemon juice
- ½ cup (113g) melted unsalted butter
- 1 teaspoon vanilla extract (optional but highly recommended)
Whisk everything together until smooth. It’ll look more like a thick cake batter than a cookie dough. Don’t worry, that’s exactly how it should be.
Note: Using room temperature eggs helps them blend more evenly into the batter. If you forgot to leave them out, place them in a bowl of warm water for 5 minutes.
3. Mix the Dry Ingredients Separately
In a smaller bowl, whisk together:
- 2 ⅓ cups (280g) all-purpose flour
- ½ teaspoon baking soda
Why do this separately? It ensures the baking soda is evenly distributed throughout the flour. You don’t want a random bitter clump in a bite.
4. Combine the Wet and Dry Mixtures
Now pour your dry flour mixture into the lemony wet mixture.
Use a spatula to fold the flour in gently. You don’t need a mixer for this, and you don’t want one.
Why fold gently? Overmixing can activate gluten in the flour, which will lead to tough cookies. We want soft, tender, fudgy results, not chewy or dense.
Stop mixing as soon as the flour disappears. The dough should be thick, glossy, and still a little sticky.
5. Chill the Dough (Very Important!)
This is the make-or-break step: chill the dough for at least 4 hours, or overnight for best results.
Why?
- It firms up the dough, making it easier to roll.
- It prevents the cookies from spreading too much during baking.
- It allows the lemon flavor to intensify and fully develop.
Wrap the dough tightly in plastic wrap or cover the bowl, then pop it in the fridge and forget about it until tomorrow (or at least until after lunch).
6. Preheat and Prep for Baking
When you’re ready to bake:
- Preheat your oven to 350°F (175°C).
- Line 2 baking sheets with parchment paper or silicone baking mats.
- Place ¾ cup of powdered sugar in a medium bowl for rolling.
Optional: If you want to experiment with different crinkle textures, chill a second batch of dough balls in the freezer for 10–15 minutes (more on this later).
7. Scoop and Roll the Cookie Dough
Use a 1.5 tablespoon cookie scoop or a heaping tablespoon to portion the chilled dough. Gently roll each scoop into a smooth ball.
Tip: If the dough sticks to your hands, lightly dust your palms with powdered sugar.
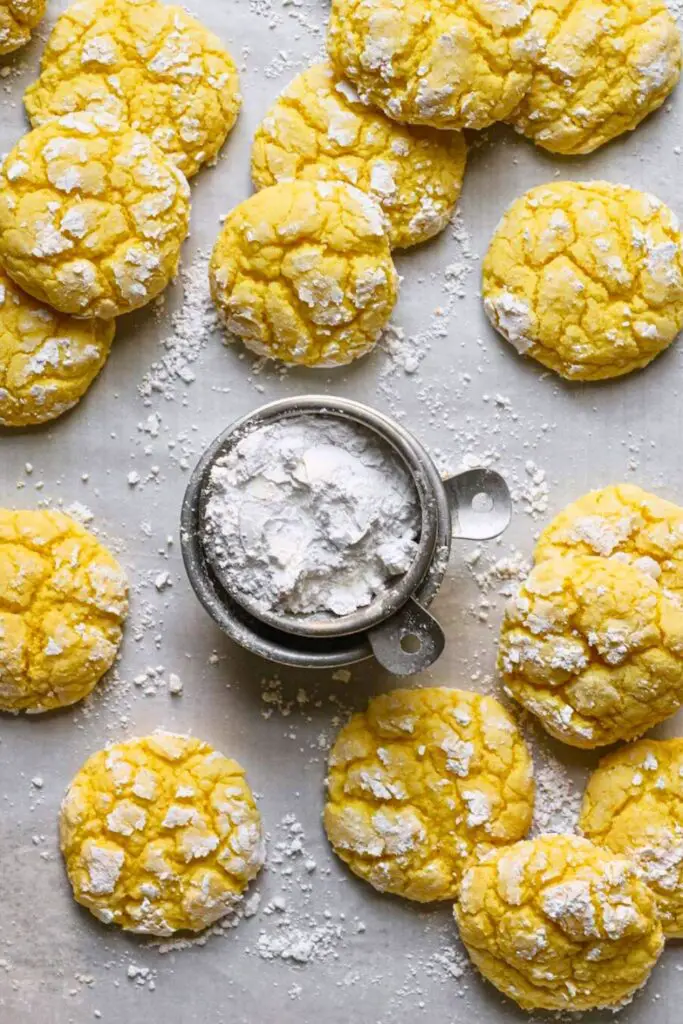
Roll each dough ball in the powdered sugar generously. You want a nice, thick coating.
Then do it again.
Yes — double roll! This ensures the cookies keep their crinkled white tops instead of absorbing all the sugar during baking.
Place cookies 2 inches apart on the prepared baking sheets.
8. Bake to Crinkled Perfection
Pop the trays into the oven and bake for 12 to 14 minutes.
The cookies should:
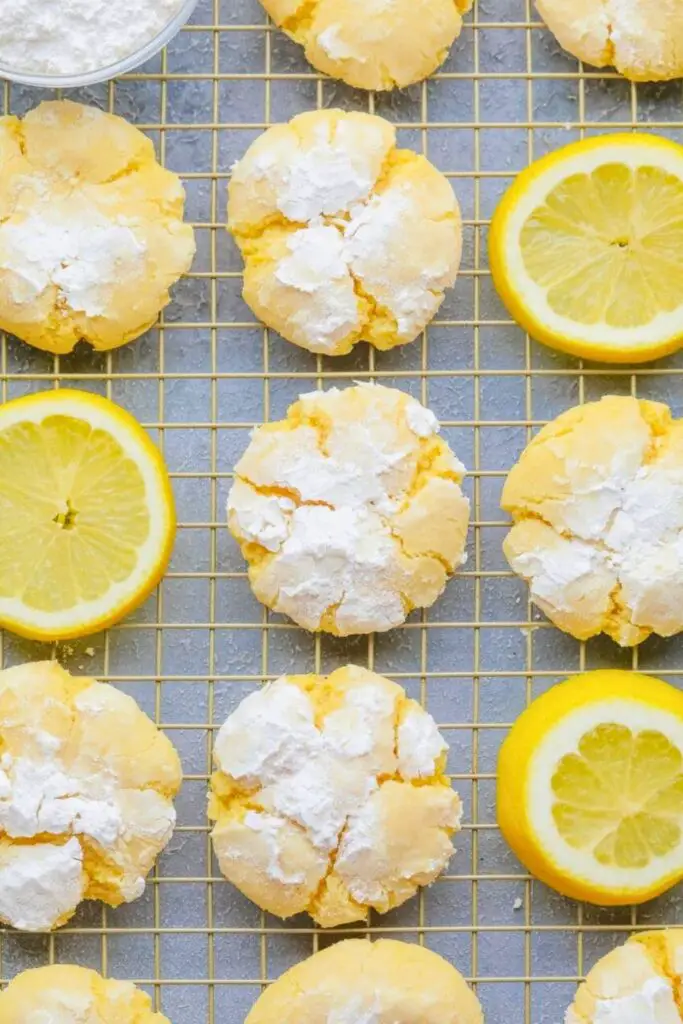
- Have cracks across the top
- Look slightly puffed
- Just starting to brown at the bottoms
- Feel soft and tender to the touch (they’ll set more as they cool)
The cookies should be cooled on the tray for 5 minutes, then transferred to a wire rack to finish cooling.
9. Optional: Freeze Extra Dough
Want fresh cookies on demand? Freeze unbaked dough balls after the first powdered sugar roll.
To bake from frozen:
- Let them sit at room temperature for 5 minutes.
- Roll again in powdered sugar.
- Bake as usual, adding 1–2 extra minutes to the time.
10. Enjoy the First Bite
That first bite? Soft, lemony heaven.
You’ll get the zing of lemon, the pillowy-soft texture, and a hint of buttery vanilla wrapped in a snowy sugar coating. It’s fresh, sweet, and incredibly satisfying.
These cookies are ideal for lemon lovers but gentle enough for anyone to enjoy. They’re refreshing in summer, comforting in winter, and delicious all year round.
🤔 Why Are My Crinkle Cookies Not Crinkling?
The classic crinkle top gives these cookies their signature look, but sometimes, you pull a tray out of the oven, and they’re just… smooth. What went wrong?
Let’s break down the most common reasons your crinkle cookies aren’t crinkling:
1. You Didn’t Roll in Enough Powdered Sugar
The crinkle effect happens when the dough expands and cracks through a thick powdered sugar coating. If you only rolled lightly, or skipped the double roll, the sugar can dissolve into the dough before it even bakes, no cracks, no contrast.
✅ Fix: Be generous. Roll once, then roll again before baking for that bold, snowy appearance.
2. Your Dough Was Too Warm
Warm dough spreads too quickly, allowing the cookies to melt flat instead of puffing and cracking. This causes a smooth surface instead of those beautiful splits.
✅ Fix: Always chill your dough for at least 4 hours, ideally overnight. It helps firm up the dough and creates a slow, controlled spread in the oven, precisely what you want for dramatic crinkles.
3. Your Baking Powder or Soda Is Old
Leavening agents like baking soda cause the cookies to puff and crack. If they’ve lost their potency, your dough may spread but never crinkle.
✅ Fix: Test your baking soda before use. Add a pinch to a splash of lemon juice or vinegar; if it fizzes, it’s active. If not, replace it.
4. Oven Temperature Was Too Low
A temperature that is too low gives cookies more time to spread before the crust sets and cracks. That means they’ll bake flatter and smoother.
✅ Fix: Preheat your oven to 350°F (175°C) and use an oven thermometer if needed; many ovens run hot or cold without you knowing.
5. You Overmixed the Dough
Overmixing can develop gluten in the flour, leading to dense, chewy cookies that don’t puff or crack properly.
✅ Fix: After adding the dry ingredients, fold gently until combined. As soon as the flour disappears, stop mixing.
🕵️♀️ What Is the Secret to Crinkle Cookies?
Let’s be real: a crinkle cookie without the crinkle is… a cookie.
So what’s the secret behind those beautiful, snowy cracks that make crinkle cookies iconic?
It’s all about the timing, texture, and coating. Here are the key elements that bring the magic:
1. Dough Consistency
The dough should be thick, soft, and fudgy, similar to brownie batter but more structured. That moist interior helps the cookie puff up and split during baking. If your dough is too dry, it won’t crack properly; if it’s too wet and warm, it’ll spread.
✅ Secret Tip: Chill the dough thoroughly. This slows the spreading and encourages the surface to crack as the cookie expands.
2. Cold Dough Meets Hot Oven
This temperature contrast is a game-changer. When cold dough hits a hot oven, the outside cooks faster than the inside. As the cookie rises and spreads, the surface begins to crack naturally, revealing that iconic pattern.
✅ Secret Tip: Always preheat your oven and make sure your dough is well-chilled (4 hours minimum, overnight ideal).
3. Double Powdered Sugar Roll
Many people don’t realize that one powdered sugar roll isn’t enough. The dough absorbs that sugar quickly and melts into the cookie, leaving you with a matte top instead of a crackled finish.
✅ Secret Tip: Roll your cookie dough balls in powdered sugar twice, once before setting them aside, and once again just before baking. This second coating guarantees that the crinkly contrast remains even after baking.
4. The Right Leavening
Depending on the recipe, you need baking soda (or baking powder) to give the dough that puff it needs to expand and crack. In lemon crinkle cookies, baking soda reacts with the acid in lemon juice, creating the right amount of lift.
✅ Secret Tip: Don’t skip or mismeasure your leavening! A little goes a long way, and it’s what creates the crack.
5. Don’t Overbake
You want the cookie to set around the edges but stay soft and fudgy inside. Overbaking causes the dough to firm up too early, which means no time to crack and split.
✅ Secret Tip: Bake until the cookies are puffed and cracking, with light browning at the bottom, about 12–14 minutes.
✨ Final Thoughts
There’s something truly special about a cookie that looks like it came from a bakery but tastes like homemade sunshine. These lemon crinkle cookies are that perfect mix of sweet and tart, soft and chewy, stunning and straightforward.
Every bite delivers a burst of lemony goodness, hugged by a cloud of powdered sugar. Whether you’re baking them for a picnic, sharing with friends, or just treating yourself after a long week, they’ll leave a lasting impression.
Remember:
- Chill your dough.
- Roll it twice in sugar.
- Don’t skip the zest.
- And most of all — have fun with it.
Because the best cookies don’t just feed your sweet tooth, they feed your soul.
🧁 You Might Also Love…
Here are a few more Pinterest-perfect, crowd-pleasing recipes to keep your kitchen glowing and your guests coming back for seconds:
🔥 30 Summer Party Food Ideas That’ll Wow Your Guests
Think sliders, salads, and poolside bites. The ultimate seasonal hit list.
🍗 Quick & Easy BBQ Chicken Sliders for Crowds
Sweet, smoky, and ready in minutes, perfect for your next gathering.
🥗 Farro Salad Recipe Millennials Are Loving
Nutty, hearty, and healthy. A perfect side or light meal with bold flavors.
🍪 Easy Chocolate Chip Cookies Recipe in 20 Minutes
Because sometimes, you need the classic. Soft, chewy, and quick to bake.

Ella Foster, co-founder of FoodBears.com, is a skilled writer whose love for cooking fuels her creative work. Her passion for experimenting in the kitchen brings authentic flavor and culinary inspiration to every piece she crafts for the platform.