
Summer is the season of sunshine, poolside fun, fresh fruit, and vibrant colors. It’s also the perfect time to try something new in the kitchen.
If you’re looking for a bite-sized treat that’s easy to eat, fun to make, and totally Instagram-worthy, you’ll love these summer cake pops.
Whether you’re throwing a beach party, planning a picnic, or just want to spend a fun afternoon with your kids, this recipe has everything you need to whip up the most adorable cake pops ever.
And don’t worry, we’ll keep things simple and super doable, even if you’ve never made cake pops before.
Why Cake Pops Are Perfect for Summer
Here’s the thing: Summer is about simplicity and celebration. Nobody wants to spend hours in the kitchen or serve a messy dessert at an outdoor BBQ. That’s why cake pops shine:
- You can grab one and go—no forks, no plates!
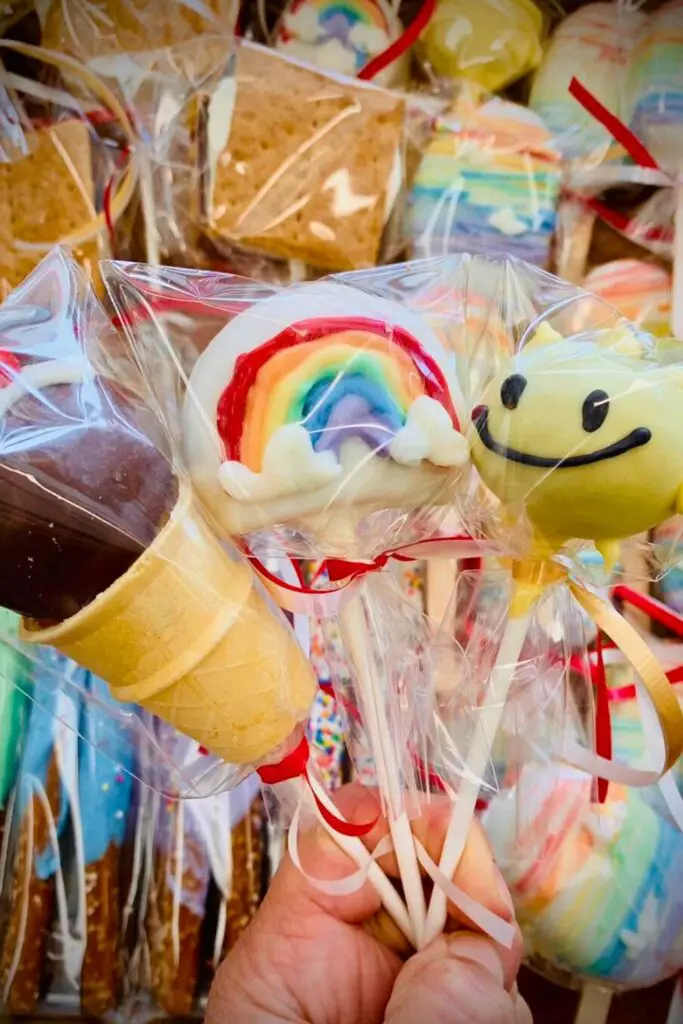
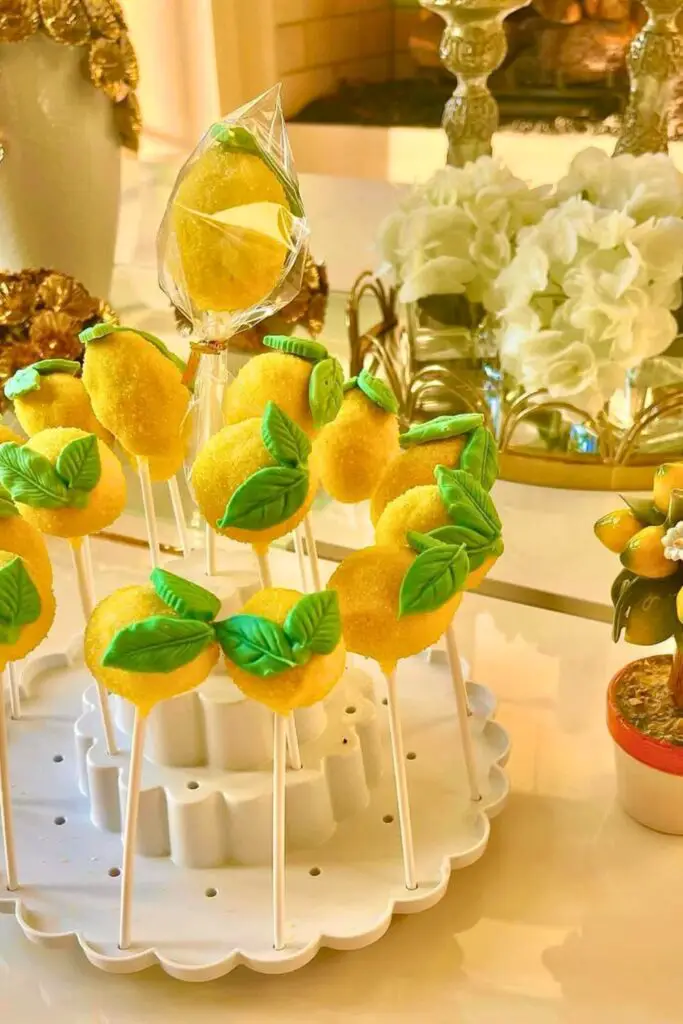
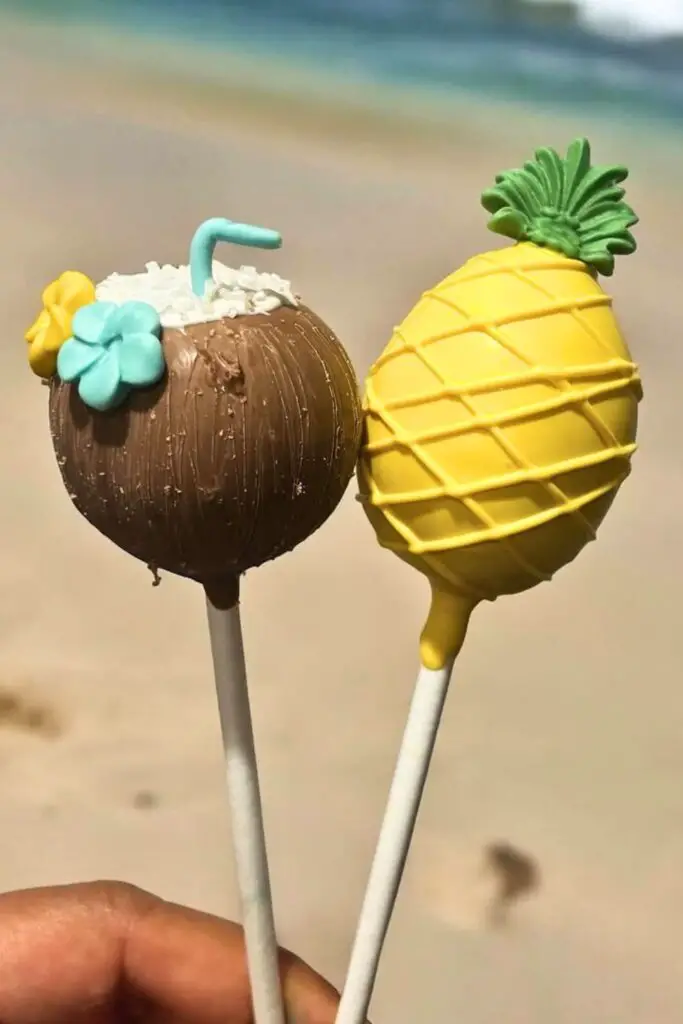
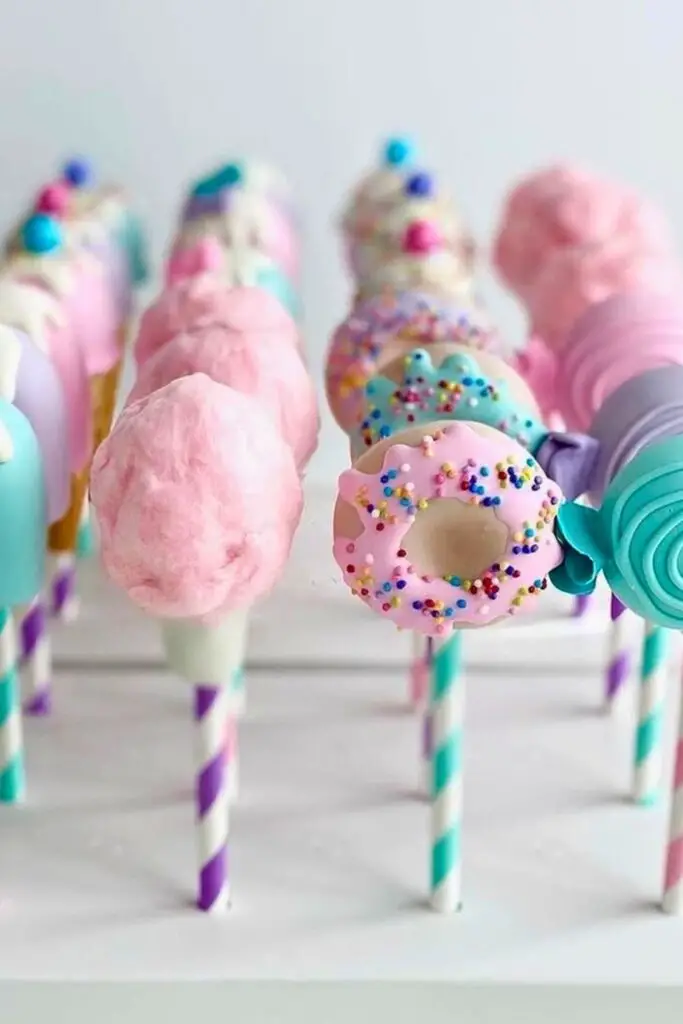
- They can be customized in any summer theme.
- They’re super kid-friendly (to eat and to make).
- They stay fresher longer than frosting-heavy cupcakes.
It’s like eating joy on a stick. Colorful, sweet, and fun, everything summer should be!
What You’ll Need (Ingredients + Tools)
Let’s break it down so you can shop smart and stay stress-free.
🧁 Ingredients:
| Ingredient | Measurement | Notes |
|---|---|---|
| Cake mix | 1 box | Vanilla, lemon, or strawberry |
| Eggs | As per the cake mix | Usually 3 |
| Oil | As per the cake mix | Usually ½ cup |
| Water | As per cake mix | Usually 1 cup |
| Frosting | ½ cup | Vanilla or cream cheese |
| White chocolate or candy melts | 2 cups | Use colorful candy melts for summer vibes |
| Food coloring | Optional | Gel works best |
| Sprinkles, crushed candy, or edible glitter | As needed | To decorate |
| Lollipop sticks | 25–30 sticks | Wooden or plastic |
🍽 Tools:
- Large mixing bowl
- Spoon or fork
- Parchment paper
- Baking sheet
- Microwave-safe bowls
- Cake pop stand, foam block, or rice-filled mug
Step-by-Step Recipe: How to Make Summer Cake Pops
Step 1: Bake the Cake
Start by baking your cake using a boxed cake mix or a homemade recipe.
- Preheat your oven to the temperature listed on your cake mix box.
- Mix your cake batter as directed. Usually, this involves:
- 1 box of cake mix
- 3 eggs
- ½ cup oil
- 1 cup water
- Pour the batter into a greased 9×13-inch pan.
- Bake for the time listed (usually around 30–35 minutes).
- Insert a toothpick into the centre of the cake. If it comes out clean, it’s done.
Why This Matters:
The cake is your foundation. A well-baked cake gives you the best texture when you mix it with frosting later. Avoid underbaking, or the cake will be gummy. Avoid overbaking, or it’ll be too dry and crumbly.
Tip: Use a light-colored cake (like vanilla, lemon, or strawberry) for a bright and summery look when you bite into the pop.
Step 2: Cool and Crumble the Cake
What You’ll Do:
- Let the cake cool completely in the pan or on a wire rack.
- Once cool, break the cake into chunks and use your hands, a fork, or a food processor to crumble it into fine crumbs.
- Remove and discard any hard or crispy edges.
Why This Matters:
Crumbling a warm cake leads to sticky, gooey bits. A cool cake crumbles evenly and gives you the right texture. You want fine, uniform crumbs—think sand, not gravel.
Tip: Wear food-safe gloves and crumble with your hands for the best feel.
Step 3: Add the Frosting
What You’ll Do:
- Add ½ cup of frosting to the cake crumbs.
- Mix with a spoon, or better yet, use your hands.
- Mix until you get a soft, moist, and moldable dough-like texture.
How to Check Consistency:
- Grab a pinch and roll it between your hands.
- It should form a ball easily and not crumble or fall apart.
- If too dry: Add a bit more frosting, 1 tablespoon at a time.
- Add a few tablespoons of reserved cake crumbs if it is too wet.
Why This Matters:
The frosting is the glue that holds your cake pop together. Too little, and it crumbles. Too much, and it’s greasy or heavy.
Pro Tip: Use room temperature frosting. It blends more smoothly with the crumbs.
Step 4: Roll Into Balls
What You’ll Do:
- Roll about 1 tablespoon of the dough between your palms to form a ball.
- Continue until you’ve used up all the mixture (you should get 25–30 balls).
- Place them on a baking sheet lined with parchment paper.
Tips for Best Results:
- Use a cookie scoop for even sizing.
- Keep your hands slightly damp or greased to prevent sticking.
Why This Matters:
Even-sized cake balls ensure even coating and uniform presentation. Plus, they’ll look more professional when displayed or gifted.
“Think of it like making little scoops of summer joy. Each one is its own treat.”
Step 5: Chill the Cake Balls
What You’ll Do:
- Place the tray of cake balls in the freezer for 20–30 minutes or in the fridge for 1 hour.
- You want them firm but not frozen solid.
Why This Matters:
Firm cake balls are less likely to fall apart when you insert the sticks and dip them in chocolate. If they’re too soft, they’ll slide down the stick or break apart during dipping.
Tip: If freezing, set a timer. Don’t let them freeze fully, or they’ll crack the coating when dipped.
Step 6: Insert Lollipop Sticks
What You’ll Do:
- Melt a small amount of candy melts or white chocolate in a small bowl.
- Dip the tip of each lollipop stick about ½ inch into the melted chocolate.
- Immediately insert it halfway into a chilled cake ball.
Let them rest for 10–15 minutes in the fridge to set.
Why This Matters:
Melted chocolate acts like cement—it holds the stick in place once it hardens. Skipping this step often causes cake pops to fall off the stick during dipping.
“This little trick is the difference between a stable pop and a floppy disaster.”
Step 7: Melt the Candy Coating
What You’ll Do:
- Melt 2 cups of candy melts or white chocolate chips in a microwave-safe bowl.
- Microwave in 30-second bursts, stirring after each round until smooth.
- Add 1 teaspoon of coconut oil or vegetable shortening for smoother dipping if using white chocolate.
- Divide into separate bowls if using multiple food colors.
- Add gel food coloring—a little goes a long way!
Why This Matters:
Smooth, fluid chocolate gives your pops a flawless finish. Overheating it can make it clumpy. Adding oil helps thin it out for better coverage.
Tip: Avoid water-based food coloring—it can seize the chocolate.
Step 8: Dip and Decorate
What You’ll Do:
- Work in small batches—remove 5–6 cake pops at a time from the fridge.
- Dip each pop straight into the chocolate. Don’t swirl or twist.
- Tap the stick gently on the side of the bowl to remove excess coating.
- Immediately decorate before the coating sets:
- Sprinkles
- Mini candies
- Crushed nuts
- Toasted coconut
- Graham cracker crumbs
- Edible glitter
Place upright in a cake pop stand or block of Styrofoam to set.
Why This Matters:
Working in small batches keeps your pops firm and easy to handle. Decorating while wet ensures toppings stick perfectly.
“This is where the magic happens—your pops go from basic to beautiful.”
Step 9: Let the Cake Pops Set
What You’ll Do:
- Leave the cake to pop at room temperature for 30 minutes or until the coating is completely firm.
- Avoid putting them back in the fridge too soon—rapid cooling may cause cracks.
Why This Matters:
Allowing the coating to air dry results in a smooth, glossy finish. Refrigeration can cause sweating, which can cause colors to run or coatings to crack.
“Just like suntanning, these cake pops need time to chill naturally.”
Step 10: Serve, Store, or Share
Your cake pops are done! Now you can:
- Serve them immediately at your summer gathering.
- Wrap them individually in plastic wrap for gifting.
- Store in the fridge in an airtight container for up to 7 days.
- Freeze undipped balls for up to 2 months. Thaw and dip when ready.
Bonus Idea: Add a ribbon around the stick for extra flair at parties or baby showers!
Cake Pop Flavor Ideas for Summer Parties
Here’s a handy guide you can use when experimenting:
| Cake Flavor | Frosting | Coating | Topping |
|---|---|---|---|
| Lemon | Cream cheese | Yellow | Crushed meringue |
| Vanilla | Coconut | Blue | Toasted coconut |
| Strawberry | Vanilla | Pink | Rainbow sprinkles |
| Funfetti | Buttercream | White | Edible glitter |
| Chocolate | Mint | Green | Mini chocolate chips |
Extra Tips for Cake Pop Success
Here are a few tricks that’ll make your cake pop adventure smooth:
- Use gel food coloring. It won’t thin out your melted chocolate.
- If your coating is too thick, add a drop of coconut oil to thin it.
- Dip and decorate quickly. Chocolate sets fast!
- Want glossy pops? Let them dry at room temp, not in the fridge.
- Use a cake pop stand. Or DIY one with a box and some holes poked in.
“Making cake pops is like finger painting—you get a little messy, but it’s all fun.”
Cake Pops vs Cupcakes in Summer
Ever wonder why cake pops are better than cupcakes at outdoor events? Here’s a quick comparison:
| Feature | Cake Pops | Cupcakes |
|---|---|---|
| Size | Bite-sized | Medium |
| Portability | On a stick, no mess | Needs plate/fork |
| Customization | Easy to theme | Limited |
| Shelf life | Longer | Shorter |
| Fun factor | ⭐⭐⭐⭐⭐ | ⭐⭐⭐ |
Final Thoughts: Bring Summer to Your Kitchen
Cake pops are summer magic on a stick. They’re fun, colorful, and totally satisfying. They’re easy to make at home with just a few basic ingredients.
So the next time you feel like baking something fun, skip the full-sized cake and go mini. These summer cake pops will steal the show at any gathering, probably on Instagram.
Now grab your sprinkles and let the sunshine in! ☀️🍭

Ella Foster, co-founder of FoodBears.com, is a skilled writer whose love for cooking fuels her creative work. Her passion for experimenting in the kitchen brings authentic flavor and culinary inspiration to every piece she crafts for the platform.