
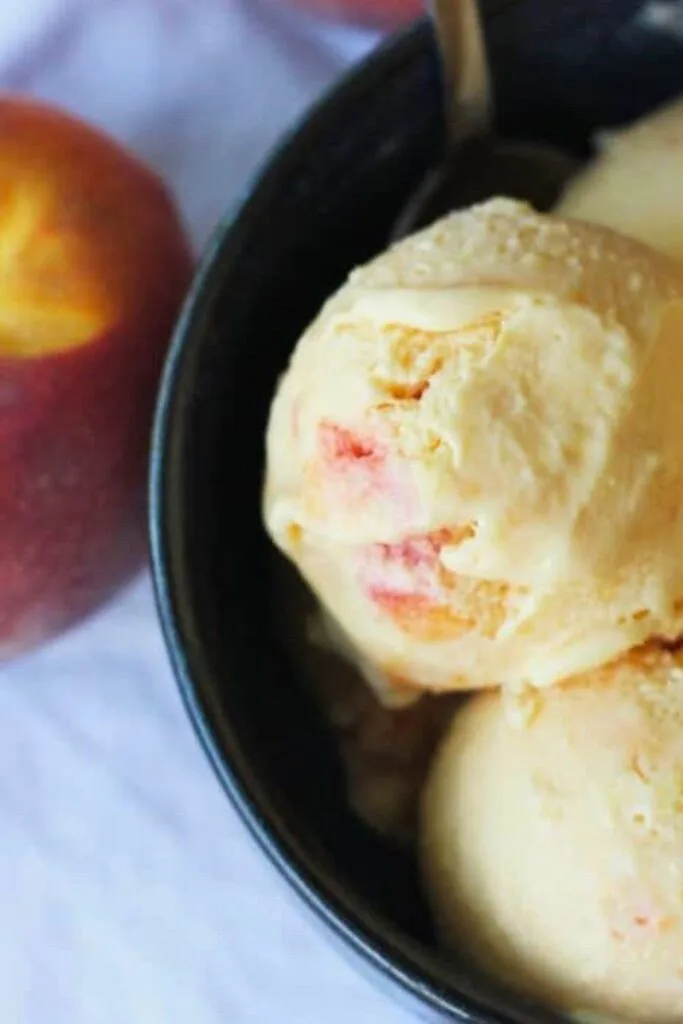
Nothing says summer like a bowl of creamy, dreamy peach ice cream. Whether lounging on the porch or hosting a backyard BBQ, this frozen treat captures the essence of the sunny South in every bite.
And where better to get inspired than the peach state, Georgia, a land of warm days, sweet fruit, and even sweeter desserts?
This post will describe a homemade peach ice cream recipe combining real fruit, silky custard, and a flavor punch you can’t get from store-bought cartons.
Plus, we’ll toss in a bonus recipe for homemade cones because if you’re making ice cream from scratch, why stop there?
Let’s get churning!
🍑 Why Peach Ice Cream?
Let’s be honest, if summer had a flavor, it would probably taste like peach ice cream. It’s smooth, fruity, and just the right kind of indulgent.
There’s something magical about that juicy sweetness of a peach when it meets the creamy chill of homemade ice cream.
It instantly takes you to a front porch in the South, where the air is warm, the tea is sweet, and the peaches are always in season.
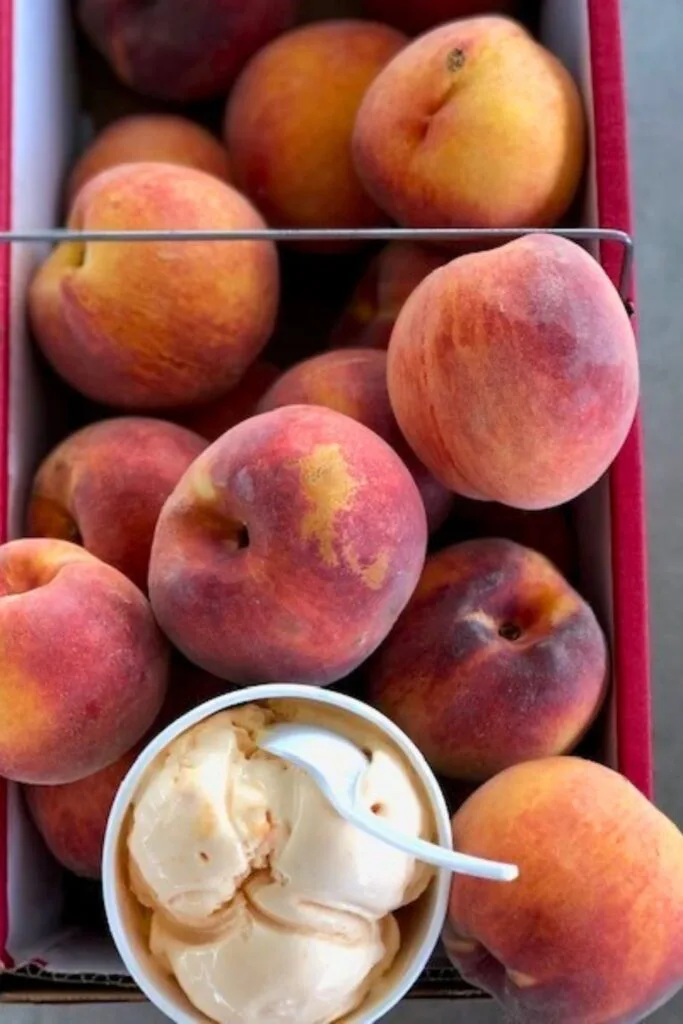
If we’re talking geography and flavor, one state steals the show: Georgia. Nicknamed the Peach State, Georgia produces over 2.6 million bushels of peaches every year. (That’s over 150 million pounds of fruit!) So, making peach ice cream isn’t just a treat, it’s a culinary nod to Southern tradition.
But this recipe goes beyond tossing some chopped peaches into a vanilla base. We’re talking real peach puree, homemade peach powder, and a custard base carefully crafted for creaminess. It’s layered with flavor and scoop-worthy.
If you’ve never made ice cream from scratch, don’t worry; this guide will walk you through it step-by-step. Whether you’ve got a fancy churner or a basic freezer, we’ve got you covered. Because honestly, everyone deserves a bowl of peachy bliss.
🛒 What You’ll Need for Peach Ice Cream
Before proceeding with the step-by-step process, let’s review everything you’ll need to make this from-scratch peach ice cream
The ingredients may look fancy, but each plays a key role in creating smooth, flavorful scoops.
| Ingredient | Amount | The main flavor is juicy, fresh, and naturally sweet. |
|---|---|---|
| Fresh Peaches | 4 cups (peeled/sliced) | The main flavor – juicy, fresh, and naturally sweet. |
| Water | 1 cup | Helps simmer the peaches for a silky puree. |
| Sugar | 160g + 2 tsp | Sweetens both the custard base and peach puree. |
| Lemon Juice | Juice of ½ lemon | Adds brightness and balances the sweetness of the peaches. |
| Peach Powder | 25g | Intensifies peach flavor without adding moisture. Optional, but recommended. |
| Whole Milk | 500g | Forms the base of the custard – adds creamy texture. |
| Heavy Cream | 500g | Makes the ice cream rich and luxurious. |
| Glucose Syrup | 80g | Prevents iciness and keeps the texture smooth. |
| Milk Powder | 50g | Adds body and boosts the creamy mouthfeel. |
| Egg Yolks | 8 yolks | Classic ice cream thickener that gives it a custard-like texture. |
| Kosher Salt | 3g | Enhances all the other flavors (yes, even the sweet ones). |
| Vanilla Extract | 3g | Adds depth and aroma to balance the fruitiness. |
| Xanthan Gum | 1g | Stabilizer that prevents ice crystals and gives that pro-level creaminess. |
💡 Note: If you don’t have some of these ingredients on hand (like glucose syrup or xanthan gum), don’t stress! You can still make a fantastic version of this ice cream without them. But if you’re chasing that ultra-smooth, scoopable finish, they’re worth trying.
🍨 How to Make Peach Ice Cream: A Step-by-Step Guide
There’s something incredibly satisfying about making your ice cream, and when it’s peach ice cream made from scratch? You’re stepping into Southern summer magic.
This recipe goes beyond simple blending. It’s built on layers of peach flavor, starting with real fruit, enhanced with peach powder, and churned into a luscious custard base.
Let’s walk through the full process, one step at a time. By the end, you’ll have a freezer full of creamy, peach-packed goodness ready for cones, bowls, or sneaky spoonfuls straight from the tub.
🧊 Step 1: Make the Peach Puree
This is the heart of your peach ice cream. It’s where that fresh, fruity flavor begins.
Start with fresh peaches, ideally ripe, juicy ones. You’ll need about 4 cups of peeled and sliced peaches for this recipe.
Here’s how to make that perfect puree:
- Score an X on the bottom of each peach with a sharp knife. This helps the skin slide off easily.
- Drop the peaches into boiling water for 60 seconds, then quickly transfer them to an ice bath to stop the cooking.
- Peel the skins off; they should come off like magic. A paring knife or even your fingers will work.
- Slice or chop the peaches into even-sized chunks. Uniform size helps them cook down evenly.
Now it’s time to cook:
- Add the peach chunks to a pot with 1 cup water, a pinch of salt, two teaspoons of sugar, and the juice of half a lemon.
- Simmer over medium-low heat for about 20 minutes, stirring occasionally.
- Use an immersion blender to blend the softened peaches into a smooth puree.
- Let it simmer again for another 40 minutes until the mixture reduces by about 25%.
📝 Tip: Keep the heat low. You’re aiming for a light golden peach color, not caramelized brown. If it darkens too much, you’ll lose that fresh fruit brightness.
Once it’s thickened and aromatic, let it cool and store it in a container in the fridge until you’re ready to use it. This puree will add flavor, color, and natural sweetness to your ice cream base.
🍑 Step 2: Make Peach Powder (Optional But Worth It)
Want to take your peach flavor to the next level without adding more liquid? Enter: peach powder.
Here’s how to make it:
- Thinly slice fresh peaches (no need to peel this time).
- Arrange them in a single layer in your dehydrator. If you don’t have a dehydrator, you can use a low-temp oven, but a dehydrator works best.
- Depending on your machine, run the dehydrator until the peaches dry out completely and crack when bent; this could take several hours.
- Once dry, add them to a spice grinder or high-speed blender and blitz into a powder.
- Don’t worry about uneven bits; you’ll strain it later. Just grind it as fine as you can.
Why go through all this? Because the powder adds intense peach flavor without messing up your ice cream’s texture. Too much liquid puree can throw off the balance, but powder blends in beautifully.
❗ Note: You can skip this step and just use puree, but be warned your final product may be less peach-forward and slightly icier.
🥚 Step 3: Crafting the Custard Ice Cream Base
This is where the magic happens. A custard-style base gives you that rich, creamy, silky texture that’s the hallmark of high-quality ice cream.
In a medium saucepan, combine the following:
- 500g whole milk
- 500g heavy cream
- 80g glucose syrup (for a smooth, scoopable texture)
- 160g sugar
- 50g milk powder (adds body and creaminess)
- 8 egg yolks (for that golden custard richness)
- 3g vanilla extract
- 25g peach powder
- 270g peach puree (that beautiful mixture you made earlier)
- 3g kosher salt
Whisk everything together until smooth. Cook the mixture slowly over medium heat, whisking frequently, until it reaches 180°F (82°C), the magical point at which your custard is thick enough to coat the back of a spoon.
If you’re not using a thermometer, dip a spoon into the mixture and run your finger through the coating on the back. If the line holds, it’s ready.
Now add:
- 1 gram of xanthan gum and blend everything again using an immersion blender. If you don’t have one, a regular blender works just fine.
💡 Why xanthan gum? It prevents iciness, smooths out your base, and keeps your final ice cream luscious and scoopable straight from the freezer.
🥶 Step 4: Chill and Rest the Base
Once your base is blended and smooth, you’re not quite done. Now it’s time to chill and rest.
- Strain the base through a fine mesh sieve into a clean bowl. This catches any bits of cooked egg or fruit pulp and ensures a silky texture.
- Place the bowl in an ice bath to bring the temperature down fast.
- Once it’s cooled, cover it and let it chill in the fridge overnight (or at least 8 hours).
Yes, it’s tempting to churn it right away, but resist! This rest period allows:
- The mixture to thicken,
- Flavors to deepen,
- Sugars have to dissolve fully,
- And the base to reach a perfect, scoopable consistency.
Skipping this step is like baking a cake without letting your batter settle. Sure, it’ll work… but it won’t be great.
🍦 Step 5: Churn That Ice Cream!
This is where your mixture becomes ice cream. Time to spin and freeze.
Grab your ice cream maker, whether a countertop machine, a compressor model, or a frozen bowl insert type, and pour in your cold, rested base.
Follow the instructions for your machine. Most machines will take 20 to 40 minutes to churn the mixture until it reaches the consistency of soft-serve or frozen custard.
At that point:
- Transfer your freshly churned peach ice cream to a freezer-safe container.
- Press a piece of parchment paper or plastic wrap against the surface to prevent ice crystals.
- Cover with a lid and freeze for at least 6 hours or overnight for the best texture.
📝 Scoop Tip: When ready to serve, let the ice cream sit at room temp for 5-10 minutes to soften slightly. Use a warm scoop or dip your spoon in hot water for clean, smooth scoops.
🥄 The Result?
You’ll know it’s done right when:
- The texture is creamy and light, not icy.
- You can see tiny peach speckles from the puree and powder.
- The color is a soft golden hue, a sign of egg yolk richness and real fruit.
- Each bite tastes like a Southern summer day, fruity, refreshing, and sweet.
And there you have it: a scoop of Georgia sunshine in frozen form.
🍧 Bonus: Make Your Ice Cream Cones

You’ve just made your peach ice cream from scratch, so why not go the extra mile and make your crispy golden cones, too?
Store-bought cones are convenient, sure. But these homemade cones? They’re on another level. They’re crunchy, buttery, and slightly sweet, with a texture between a waffle cone and a fortune cookie.
Here’s everything you need to make your cones at home:
✅ Ingredients:
| Ingredient | Amount | Purpose |
|---|---|---|
| Egg whites | 2 large | Structure and crispiness |
| Brown sugar | 110g | Sweetness and caramelized flavor |
| Heavy cream | 30g | Adds richness |
| Melted butter | 28g | Adds fat and flavor |
| Water | 40g | Thins the batter to spread easily |
| All-purpose flour | 85g | Provides structure |
| Pinch of salt | Small | Balances the sweetness |
🧁 Step-by-Step Instructions:
- Whisk the egg whites and brown sugar in a mixing bowl until the mixture lightens in color and the sugar starts to dissolve.
- Add the cream, melted butter, and water to the bowl and mix until smooth.
- Stir in the flour and salt. The batter should be thick but pourable, kike dulce de leche in texture.
- Preheat your oven to 400°F (204°C).
- Place a Silpat or nonstick baking mat on a baking sheet and pop it in the oven for 5 minutes to preheat.
- Spoon about 1 to 1.5 ounces (roughly 40g) of batter onto the hot tray. Using the back of a spoon, spread it thinly into a wide circle.
- Bake for 5–6 minutes, or until the edges start to brown and the surface looks golden.
🍦 Shape the Cones:
- While hot and pliable, quickly wrap each disc around a cone-shaped mold. You can also make a cone mold yourself using scrunched-up foil.
- Pinch the bottom closed so your ice cream doesn’t leak through.
- Let them cool and harden — this happens fast!
💡 Pro Tip: Want to get creative? Try pressing the baked rounds into a small bowl to make ice cream bowls instead of cones.
The result? Crispy, golden-brown cones that snap gently when bitten and perfectly complement your homemade peach ice cream.
They’ll remind you of fortune cookies — lightly sweet, crunchy, and addictive. Even if you end up hating everything else (you won’t!), you’ll still walk away with a killer cone recipe.
🍑 Serving Your Peach Ice Cream
After all that blending, chilling, and churning, it’s finally time for the best part: eating. But a few simple steps will help make serving your ice cream smooth and stylish.
Here’s how to get that perfect scoop every time.
🕓 Let It Soften First
Homemade ice cream freezes harder than store-bought because it doesn’t contain artificial stabilizers. So, before serving:
- Let the ice cream sit at room temperature for 5 to 10 minutes.
- This gives it time to temper, softening just enough to scoop easily.
🍨 Scoop Like a Pro
Use a warm ice cream scoop or spoon. Dip it in hot water and shake off excess before scooping. This helps it glide smoothly through the ice cream without cracking.
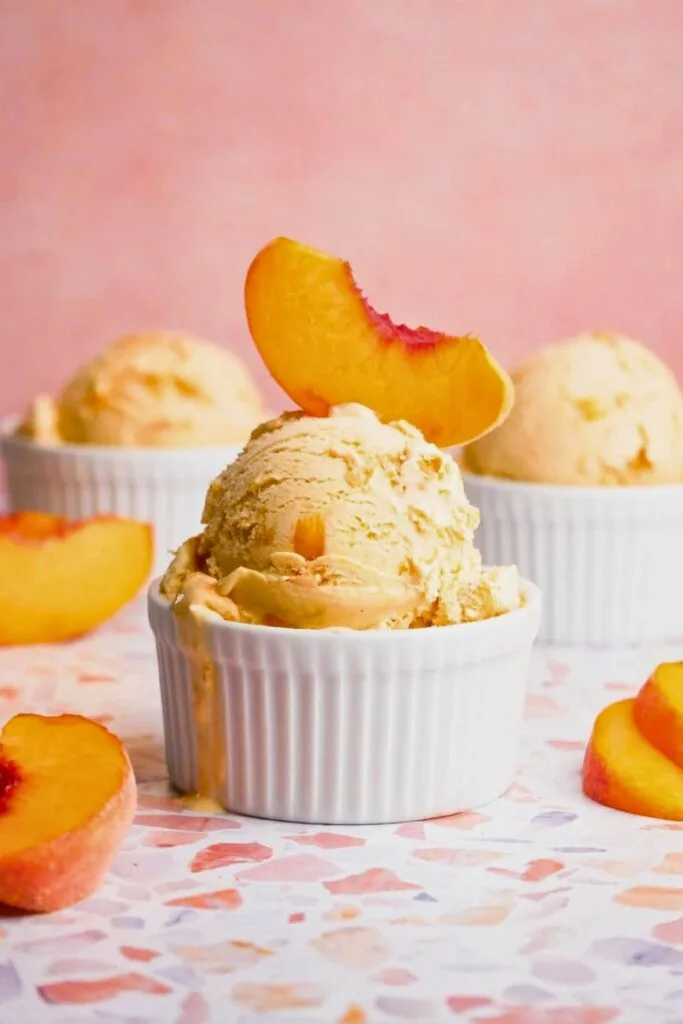
Scoop into:
- Homemade cones (obviously),
- Glass bowls with a sprig of mint,
- Or layer it over a warm peach cobbler for the ultimate Southern dessert combo.
💡 Serving Ideas & Pairings
Looking to impress your guests? Here are a few extra ways to elevate your peach ice cream:
- Top with candied pecans or crushed ginger snaps.
- Drizzle with caramel sauce or honey.
- Pair it with grilled peaches for double the fruit flavor.
- Add a whipped cream dollop and a cinnamon sprinkle for a warm-spiced twist.
🥄 How It Tastes…
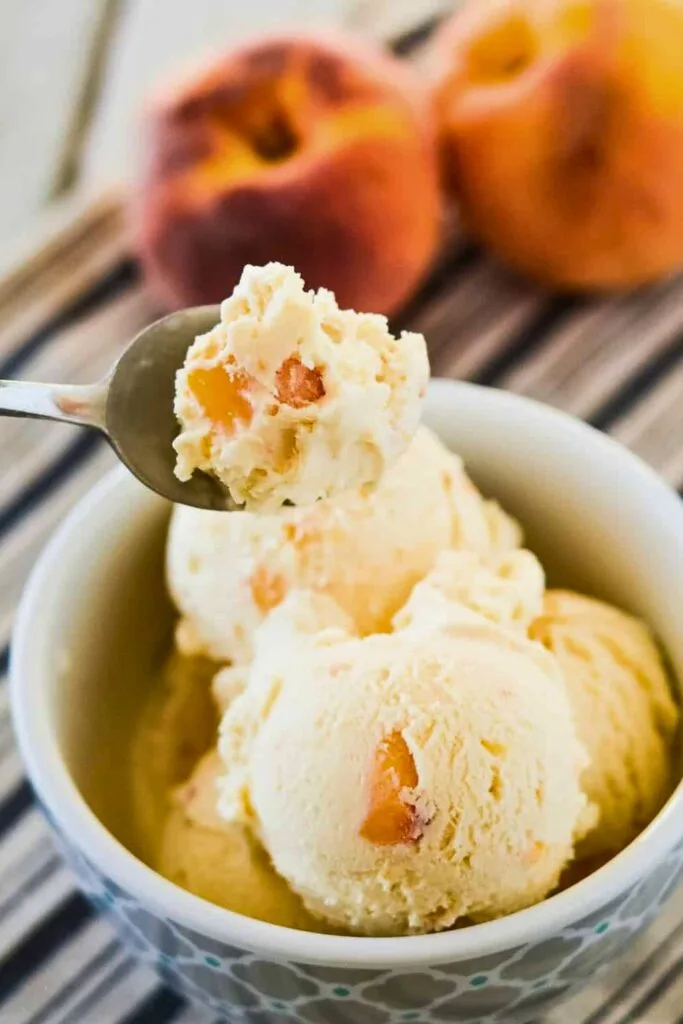
One bite in, and you’ll notice the creamy texture, the subtle tang from the lemon, and the rich flavor of real peaches shining through. Thanks to the puree and powder combo, this isn’t some fake fruit ice cream; it’s the real deal.
You’ll spot tiny flecks of peach powder and hints of golden color from the egg yolks. The texture is light but smooth, somewhere between gelato and classic custard. It melts on the tongue, leaving behind a taste of summer.
🍑 Final Thoughts
Making homemade peach ice cream isn’t just a recipe; it’s an experience. From blanching peaches to churning custard, you’re crafting a dessert that feels like summer in a scoop.
Every bite tells a story: sweet Georgia sunshine, hand-whisked love, and creamy, peachy perfection.
Sure, you could pick up a carton at the store, but where’s the fun in that? This homemade version lets you control the flavor and quality, and he enjoys saying, “Yeah, I made this.”
Whether you’re hosting a cookout, treating the kids, or want to channel Southern comfort, this peach ice cream brings smiles to every table.
Scoop it into homemade cones, serve it over warm desserts, or eat it straight from the container while binge-watching your favorite show. We won’t judge.
So the next time you spot ripe peaches at the market? You know what to do.
📌 Recommended Next Reads
Want to keep the peach party going? We’ve got just the thing! Dive into these peach-packed favorites next:
- 👉 20 Fresh Peach Recipes That Wow in 30 Minutes
From salads to desserts, you’ll love quick peach dishes. - 👉 5-Star Best Peach Muffins Recipe For Moms
Moist, fluffy, and packed with peach flavor, perfect for breakfast or snacking. - 👉 10-Minute Prep Peach Jam Recipe for Busy Moms
Sweet, spreadable, and freezer-friendly. Jam out with this simple recipe! - 👉 Best Peach Upside Down Cake Recipe
Caramelized peaches on a soft, buttery cake are dessert heaven.

Ella Foster, co-founder of FoodBears.com, is a skilled writer whose love for cooking fuels her creative work. Her passion for experimenting in the kitchen brings authentic flavor and culinary inspiration to every piece she crafts for the platform.