
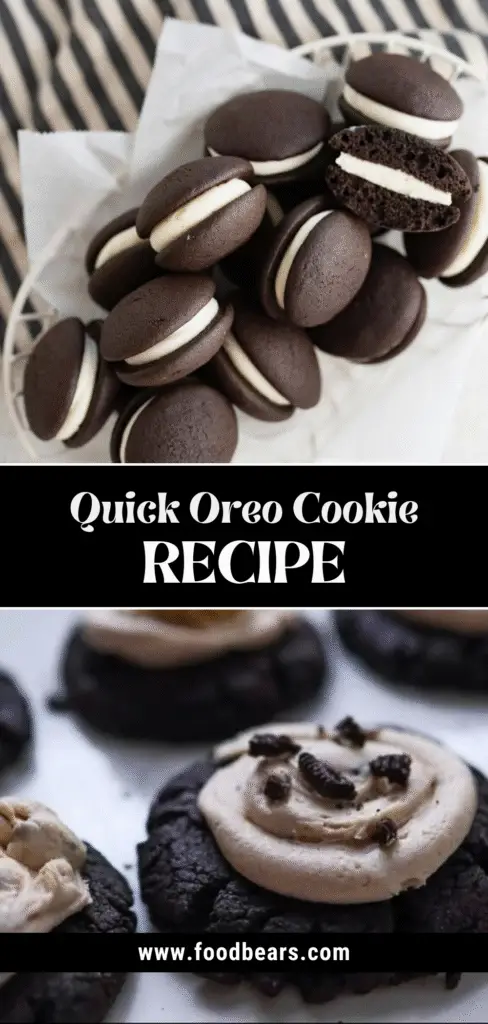
If you’ve ever opened a sleeve of Oreo cookies and thought, “These are good…but could they be better?”, you’re in the right place.
Today, we’re not just making cookies, we’re recreating a childhood favorite from scratch with deeper flavor, a satisfying crunch, and a creamy center that’s customizable and even more delicious than the original.
Whether you’re baking with your kids, whipping up something nostalgic, or want a better cookie with fewer mysteries in the ingredients. This homemade Oreo cookie recipe has you covered.
Why Make Homemade Oreo Cookies
We’ve all had Oreos. They’re nostalgic, addictive, and in almost every grocery store snack aisle. So why go through the extra effort of making them from scratch?
Because homemade Oreos hit different.
When you bake Oreos at home, you get everything you love about the classic crisp texture, deep cocoa flavor, and creamy filling, with none of the processed stuff.
Plus, you can control the ingredients, adjust the sweetness, and even add your twist. Want double-stuffed? Done. Peppermint filling? Go for it.
Let’s not forget that heavenly smell wafting through your kitchen as they bake. You can’t get that out of a plastic wrapper.
This recipe is not a knock on the store-bought version. We all love the convenience. But when you can turn a good thing into a great thing, why not?
Whether baking for yourself, your kids, or a special occasion, homemade Oreos are a feel-good, taste-better, crowd-pleasing treat.
Ingredients You’ll Need
Let’s break it down ingredient by ingredient so you know exactly what you need and why.
🧾 Cookie Dough Ingredients
| Ingredient | Amount | Purpose |
|---|---|---|
| Unsalted Butter (softened) | 1 cup (2 sticks) | Adds richness and helps the cookies hold shape |
| Granulated Sugar | 1 cup | Sweetens the dough and helps it crisp up |
| Large Egg | 1 | Binds everything and adds moisture |
| Vanilla Extract | ¾ tsp | Enhances flavor depth |
| All-Purpose Flour | 1¾ cups | Provides the cookie’s structure |
| Black Cocoa Powder | ⅔ cup | Gives that iconic Oreo flavor and black color |
| Baking Powder | ½ tsp | Adds a slight lift |
| Baking Soda | ¼ tsp | Helps with structure and texture |
| Salt | ¾ tsp | Balances sweetness and enhances overall flavor |
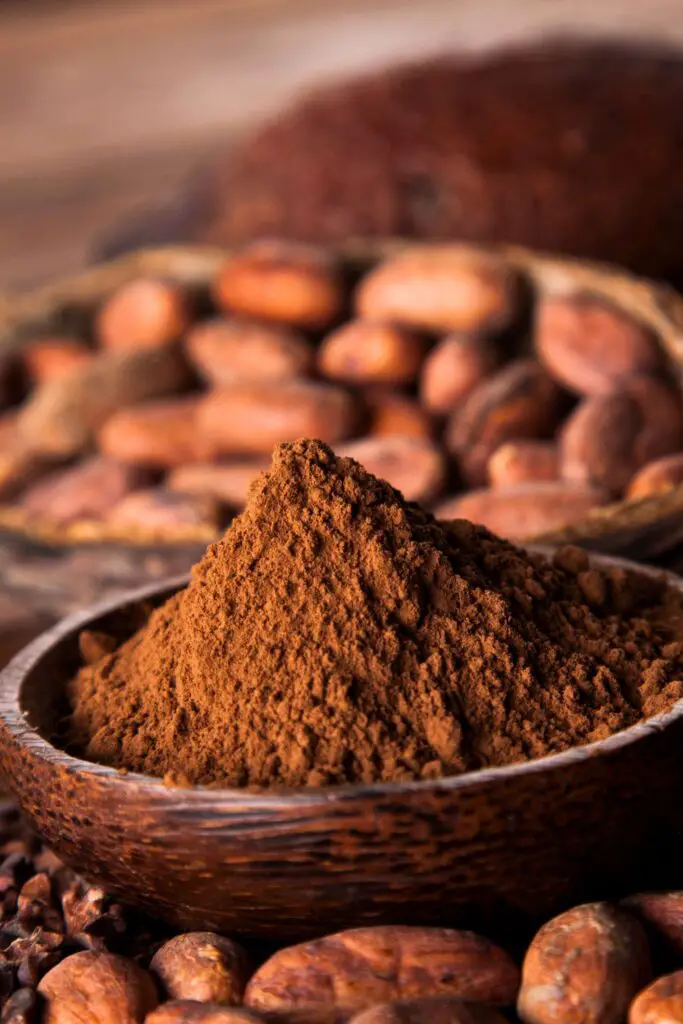
🔍 Note: The black cocoa powder is essential here. Regular cocoa will make your cookies brown instead of black, and the flavor won’t be quite as deep or true to the Oreo taste. You can find black cocoa online (Amazon works great).
🧁 Cream Filling Ingredients
| Ingredient | Amount | Purpose |
|---|---|---|
| Unsalted Butter (softened) | ½ cup | Base of the filling |
| Vegetable Shortening (Crisco) | ¼ cup | Keeps the filling from being too rich; mimics Oreo texture |
| Powdered Sugar | 2 cups | Sweetens and thickens the filling |
| Vanilla Extract (clear preferred) | ½ tsp | Gives the filling its signature flavor |
| Salt | ⅛ tsp | Balances the sweetness and adds flavor clarity |
✨ Pro Tip: If you want your cookies to really mimic the commercial Oreo flavor, go with clear vanilla extract. It gives that familiar taste and keeps the filling bright white for that black-and-white contrast.
Step-by-Step Instructions: Homemade Oreo Cookie Dough
Ready to bake? This cookie dough is easy to pull together and fun to work with once you follow a few simple techniques.
Step 1: Cream the Butter and Sugar
Add 1 cup of softened unsalted butter and 1 cup of granulated sugar to a large mixing bowl. Use a hand or stand mixer to beat them until the mixture becomes light, fluffy, and slightly pale. This takes around 2–3 minutes and sets the foundation for your cookie texture.
💡 Why cream butter and sugar? It incorporates air and creates that light, crisp bite we want in a classic Oreo cookie.
Step 2: Add the Egg and Vanilla
Crack 1 large egg and add ¾ teaspoon of vanilla extract. Mix again until everything is thoroughly combined. The egg helps bind the dough, while the vanilla adds depth and a warm aroma to the cookies.
Step 3: Mix the Dry Ingredients
In a separate medium bowl, whisk together the following:
- 1¾ cups all-purpose flour
- ⅔ cup black cocoa powder
- ½ teaspoon baking powder
- ¼ teaspoon baking soda
- ¾ teaspoon salt
Be sure to mix until the cocoa powder is evenly distributed, ensuring you don’t get streaks or pockets of powder later on.
🖤 Black cocoa powder alert! This gives the cookies a dark, nearly black color and a rich, chocolatey Oreo flavor. Don’t swap it with regular cocoa unless you like a milder, brown cookie.
Step 4: Combine Wet and Dry Gradually
Now bring back the butter mixture. Gradually add the dry and wet ingredients in 2–4 parts. Mixing all at once can overwhelm the butter and create a crumbly, hard-to-work dough.
You’ll notice the dough becoming thick and stiff as you mix; that’s precisely what you want.
⚠️ If you dump the dry ingredients too quickly (we’ve all been there), your dough may become crumbly and harder to work with. Just take it slow.
Step 5: Divide the Dough
Once thoroughly mixed, divide the dough into two roughly equal parts. This makes it easier to roll out later. You don’t need to be exact, but try to keep the halves similar in size for consistent rolling and baking.
Step 6: Flatten Into Discs
Take each portion and form it into a flat disc using your hands or by wrapping it in plastic wrap and pressing it evenly. A disc shape helps the dough chill faster and roll out more smoothly.
🧊 Why chill the dough? Cold dough is easier to handle, helps the cookies hold their shape, and improves the texture after baking.
Step 7: Wrap and Chill
Wrap each disc tightly in plastic wrap, ensuring no air pockets, and place them in the refrigerator for at least 1 hour.
🕒 If you’re prepping ahead, the dough can be chilled overnight.
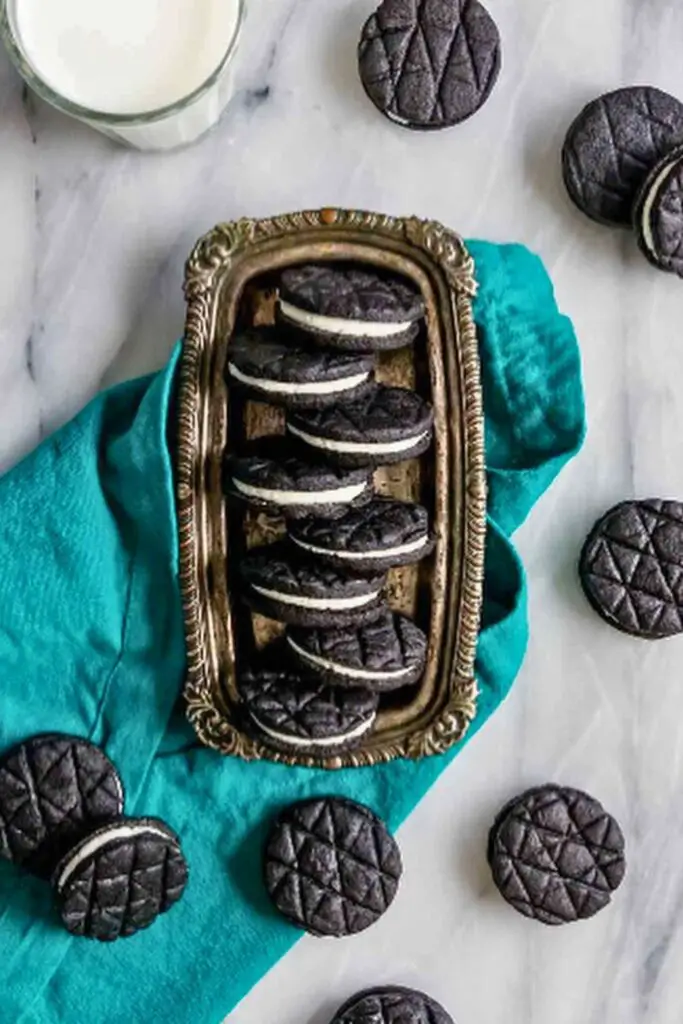
Add Texture (Optional but Fun)
Once your dough is chilled, it’s time to roll and cut, but first, let’s add a creative twist.
Oreo cookies have that iconic ridged design on top. While you don’t need to replicate that at home, it’s a fun touch and easier than you think.
Option 1: Use a Cooling Rack
Place your chilled dough on a lightly floured surface. Roll it out thin (about 1/8 to 1/16 inch thick) and gently press a metal cooling rack on top to create a subtle grid pattern.
🛠️ No fancy tools? No problem. This “poor man’s” method mimics texture without needing custom stamps or embossers.
Option 2: Textured Rolling Pin
If you own a decorative or patterned rolling pin, now’s the time to shine. Roll the dough out directly with the textured pin for a uniform, professional-looking finish.
Option 3: Keep It Classic
Not a fan of extra steps? Fine. Skip the texture and keep your cookies smooth and straightforward. They’ll still look and taste amazing.
🎨 Baker’s Tip: If your dough cracks while rolling, let it sit at room temp for 5–10 minutes before trying again. Cold dough can get stiff.
Cut, Bake, and Cool Your Cookies
Now that your dough is chilled and ready, it’s time to transform those chocolatey discs into homemade Oreo cookies!
Step 1: Prep Your Work Surface
Lightly flour a clean countertop or large cutting board. You can also use cocoa powder to avoid any white residue on your dark dough, but remember that it gets messier and can stain surfaces.
✅ Pro Tip: Dust the top of the dough too, and don’t forget to flour your rolling pin. Roll gently and evenly.
Step 2: Roll It Thin
Roll out the dough to about 1/8 inch to 1/16 inch thick. You’re aiming for a crisp cookie, not a soft or cakey one. This is the sweet spot to get that satisfying “snap” we love in an Oreo.
🧊 If your dough cracks as you roll, it’s probably too cold. Let it sit for 5–10 minutes and try again.
Step 3: Periodically Lift and Rotate
Use a spatula or bench scraper to lift the dough occasionally and re-flour the surface underneath. This prevents sticking, ruining the shape when you cut the cookies.
Step 4: Cut the Cookies
Use a round cookie cutter (about 1.5 to 2 inches in diameter) to cut as many circles as possible from the dough. Try to place the cuts close together to maximize your yield.
Transfer the cookie circles to a parchment-lined baking sheet.
🍪 Bonus Tip: These cookies don’t spread much, so feel free to space them fairly close together, just not touching.
Step 5: Re-roll the Scraps
Gather leftover dough scraps, press them together, and roll again. You’ll get a few more cookies out of it!
Step 6: Bake to Perfection
Preheat your oven to 350°F (175°C). Bake the cookies for 8–10 minutes on the center rack.
⚠️ Because the dough is so dark, it’s hard to tell if the cookies are done by color. Instead, rely on time and texture.
Here’s what to watch for:
- The cookies should feel set and firm on the edges.
- They’ll still be slightly soft in the center when hot, but will crisp up as they cool.
🧪 Try this test: Bake one tray first. Let it cool completely and check the texture. If it snaps like an Oreo, you nailed it! If it’s too soft, try baking the next batch for an extra minute.
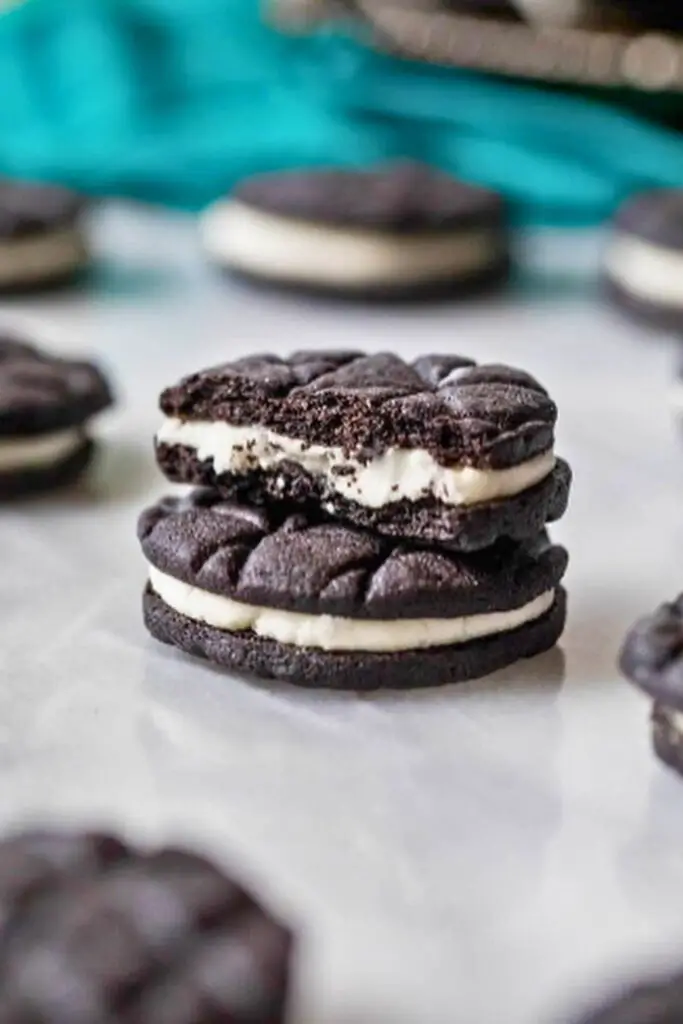
Step 7: Let Them Cool
Once baked, remove cookies from the oven and let them cool on the tray for 5 minutes before transferring to a wire rack. They’ll be delicate while warm but crisp up beautifully as they rest.
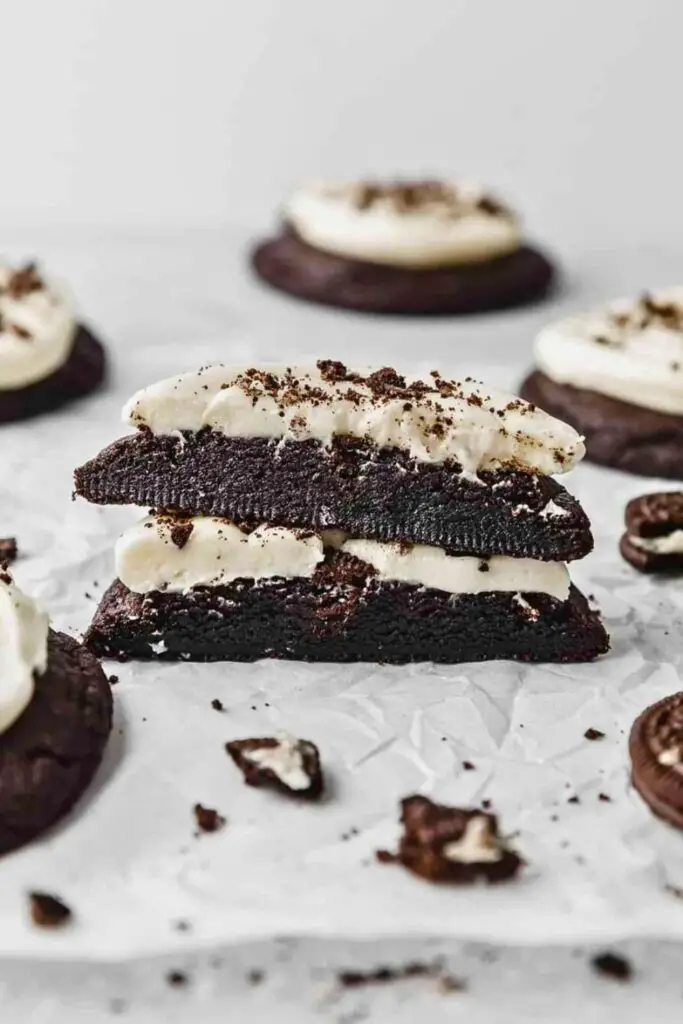
Let’s Talk About the Filling
No Oreo is complete without that signature white, creamy center. And in this homemade version, we aim for that classic, lightly sweet flavor with a soft, non-greasy texture.
🥄 This isn’t a rich, sugary buttercream. It’s a subtle, balanced filling mirrors the original without being overly sweet or heavy.
What Makes the Filling Special?
We’re using a mix of butter and shortening to create that melt-in-your-mouth feel. The shortening is optional, but it helps to replicate the slightly chalky but satisfying texture of store-bought Oreos.
🧈 Want a more decadent filling? Use all butter.
🧊 Want an authentic feel? Stick with the shortening-butter combo.
🧁 Filling Ingredients Recap:
- ½ cup unsalted butter, softened
- ¼ cup vegetable shortening (like Crisco)
- 2 cups powdered sugar
- ⅛ tsp salt
- ½ tsp vanilla extract (use clear vanilla for that classic white look and familiar taste)
Step-by-Step: How to Make Oreo Filling
1. Cream the Fats
In a mixing bowl, combine butter and shortening. Beat using a hand mixer until the mixture is smooth, fluffy, and lump-free.
💡 You’re not just mixing—you’re aerating the fats so the filling isn’t greasy or dense.
2. Add Powdered Sugar Gradually
Add 2 cups of powdered sugar, a little at a time, mixing well after each addition. This keeps the sugar from flying everywhere and helps it blend smoothly.
❗Mix on low speed first to avoid a powdered sugar explosion.
3. Add Salt and Vanilla
Add ⅛ teaspoon of salt and ½ teaspoon of vanilla extract. Mix until thoroughly combined.
✨ If you aim for an accurate Oreo replica, use clear vanilla extract. It’s artificially flavored, which gives Oreos their iconic taste and bright white center.
4. Texture Check
The filling should be creamy, smooth, and pipeable—not runny or overly stiff. If it’s too thick, add a teaspoon of milk. If it’s too soft, chill it briefly.
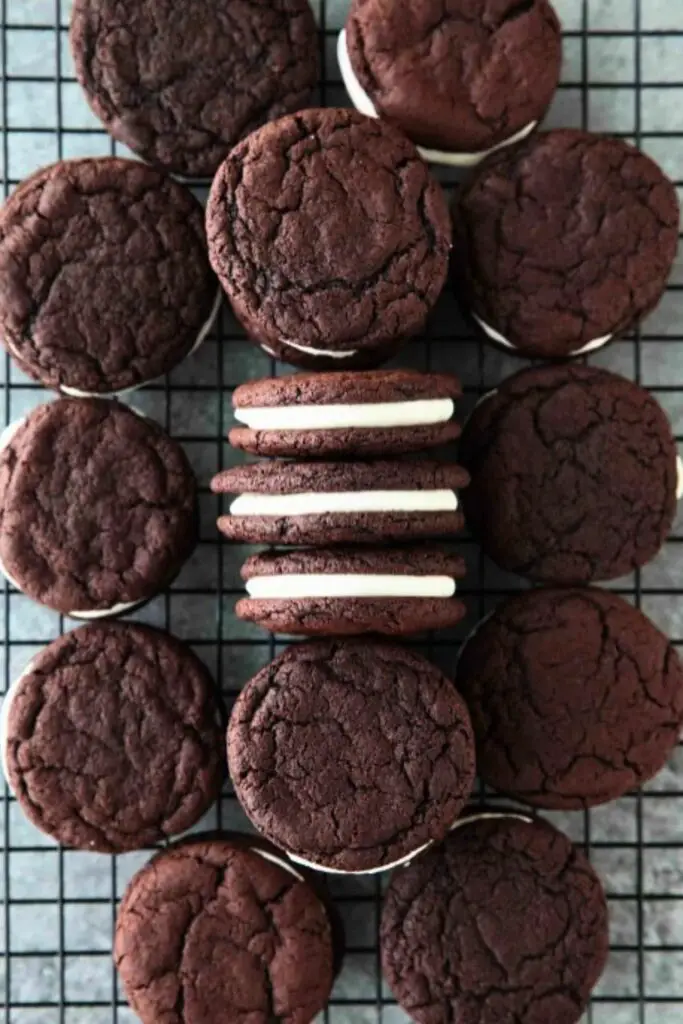
How to Fill Your Cookies
You can spread the filling with a knife or small spatula, but if you want that clean bakery look, use a piping bag.
To Assemble:
- Flip half of the cookies upside-down.
- Pipe or dollop a small circle of filling in the center of each.
- Press another cookie on top until the filling spreads evenly to the edges.
🍪 Tip: Don’t overfill unless you’re going for a double-stuffed vibe—though let’s be honest, who wouldn’t?
Let the cookies rest for 15–20 minutes to allow the filling to set.
Tips for Perfect Homemade Oreos
Homemade Oreos are surprisingly simple, but a few pro tips can take them from “pretty good” to “unreal.”
Whether it’s your first batch or your fiftieth, remember these tips to get that authentic look, taste, and texture every single time.
1. Always Use Black Cocoa Powder
We can’t stress this enough. Black cocoa is what gives Oreos their deep black color and distinct flavor. Regular cocoa powder will make your cookies brown and more like a typical chocolate wafer, which is not what we aim for.
🖤 Pro Tip: If you’re serious about baking, buy a small tub of black cocoa online—it lasts a long time and delivers unbeatable results.
2. Chill the Dough—No Skipping
Cold dough:
- It is easier to roll
- Cuts cleaner
- Bakes evenly
Let it chill for at least 1 hour, or overnight for best handling. If the dough is too cold to roll and starts cracking, give it 10–15 minutes at room temperature before trying again.
3. Roll the Dough Thin and Even
The ideal thickness is ⅛ inch to 1/16 inch, just like the real deal. Thicker cookies won’t have the signature snap, and thinner ones may over-bake quickly.
Use a ruler or visual guide if you’re unsure.
4. Rotate and Flour Your Surface
Oreo dough is rich and sticky. To prevent a frustrating mess:
- Lightly flour the counter and rolling pin
- Periodically lift and rotate the dough
- Re-flour as needed
A bench scraper helps if things start sticking; it’s a baker’s best friend!
5. Bake One Tray First
Since Oreo cookies are already dark, it’s hard to know when they’re “done.” That’s why it’s smart to bake a test tray first, let it cool completely, then snap and taste.
Adjust the time (usually 8–10 minutes) based on your texture preference.
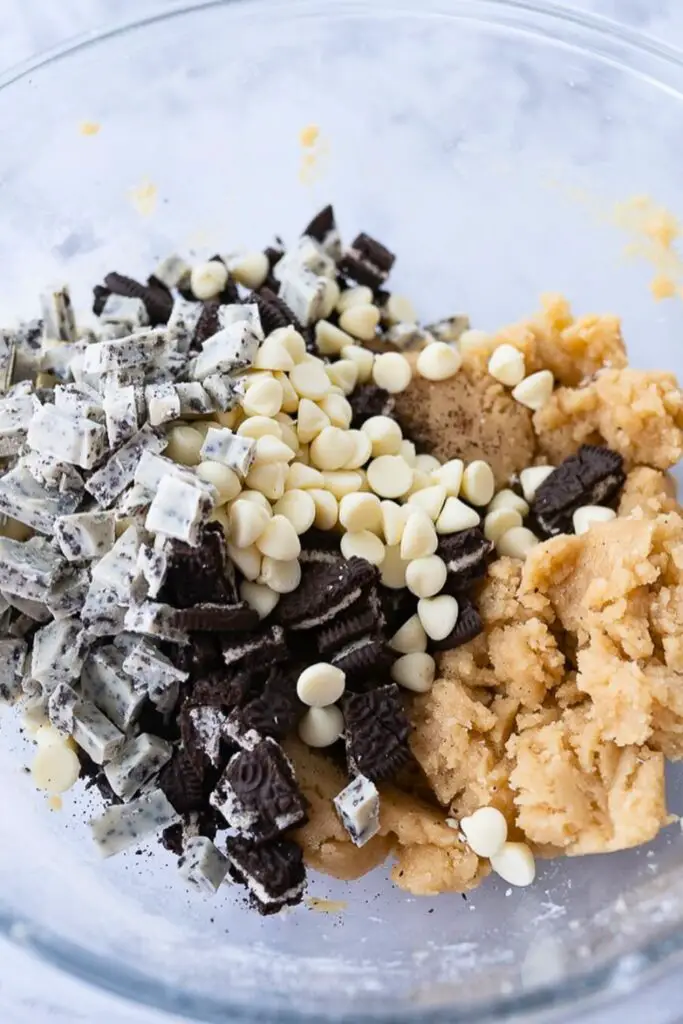
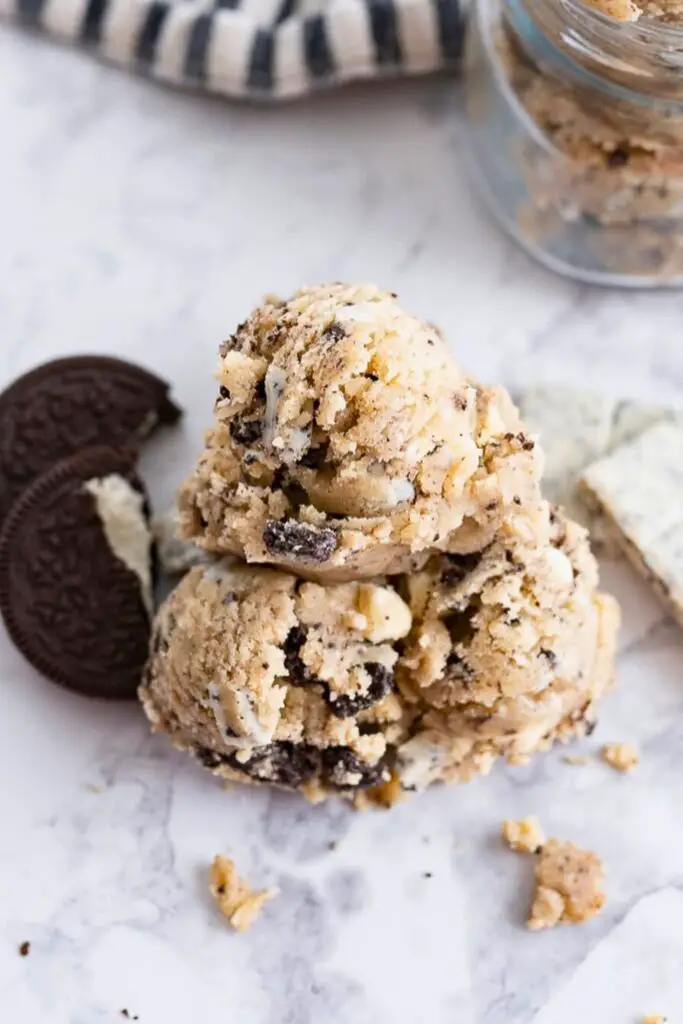
Recipe Variations to Try
Want to level up your Oreo game or tailor it to the season or occasion? Here are some fun and tasty homemade Oreo cookie twists beyond the classic black-and-white.
1. Mint Chocolate Oreos
- Add ½ tsp peppermint extract to the cream filling
- Mix in a drop of green food coloring
🌱 Great for winter holidays or St. Patrick’s Day!
2. Peanut Butter Oreos
- Swap half of the butter in the filling with creamy peanut butter
- Sprinkle crushed peanuts into the filling for extra crunch
🥜 These are especially irresistible if you love salty-sweet combos.
3. Pumpkin Spice Oreos
- Add ½ tsp pumpkin pie spice to the cookie dough
- Use a simple vanilla cream filling with a dash of cinnamon
🎃 Perfect for fall baking or Thanksgiving dessert tables.
4. Red Velvet Oreos
- Add red food coloring and a splash of buttermilk to the dough
- Use cream cheese frosting instead of the classic vanilla filling
❤️ The result is rich, colorful, and ideal for Valentine’s Day.
5. Double Stuffed Oreos
- Double your filling recipe
- Add two full tablespoons of filling per cookie sandwich
😍 Warning: highly addictive!
Why Black Cocoa Powder Is Essential
Discuss the secret weapon in your Oreo recipe: black cocoa powder.
It’s not just any cocoa powder. The magic ingredient gives homemade Oreos their deep, rich color and signature dark chocolate flavor. Without it, you’re making chocolate sandwich cookies, not real Oreos.
What Is Black Cocoa Powder?
Black cocoa powder is a heavily Dutched (alkalized) cocoa. That means it’s been treated to neutralize its acidity, which:
- Deepens its color to nearly black
- Makes it taste smoother and less bitter
- Gives it a slightly earthy, bittersweet flavor, just like the iconic Oreo cookie
🖤 Think of it like cocoa’s cool, older sibling—darker, more refined, and with a stronger presence.
How Is It Different from Regular Cocoa?
| Feature | Regular Cocoa | Black Cocoa |
|---|---|---|
| Color | Light to medium brown | Intense jet black |
| Flavor | Mild, sometimes acidic | Bold, smooth, deep |
| Texture | Powdery, can be gritty | Silky, ultra-fine |
| Uses | Cakes, brownies, hot cocoa | Oreos, sandwich cookies, and dark cakes |
Where to Find It
You probably won’t find black cocoa at your local grocery store. But it’s readily available online at Amazon or specialty baking retailers. A little goes a long way, and it stores well in a cool pantry.
📦 Tip: Look for brands like King Arthur, Wincrest, or Valrhona.
Can I Substitute Regular Cocoa?
Technically, yes, but your cookies will turn out:
- Brown, not black
- Lighter in flavor
- More like regular chocolate cookies than Oreos
If you want authentic results, black cocoa is non-negotiable.
Final Thoughts
There’s something extra special about taking a classic treat and making it from scratch. These homemade Oreo cookies aren’t just a copycat recipe but an upgrade.
You get the bold black cocoa flavor, a crisp bite, and creamy filling all made with real ingredients you can trust. Whether baking a batch for yourself, for a weekend project with the kids, or a holiday cookie box, these homemade Oreos are unbeatable in flavor, texture, and joy.
So the next time you’re craving a cookie that delivers on nostalgia and flavor, skip the plastic wrapper and preheat your oven instead. You’ll never look at a store-bought Oreo the same way again.
Now go on, mix, roll, bake, and fill. And don’t forget to treat yourself to one (or three) with a tall glass of cold milk.
You Might Also Love:
Looking for more cookies that are just as easy, nostalgic, and addictive? Try one of these next:
👉 Chewy Zucchini Cookies with Chocolate Chips & Oats
Soft, cozy, and secretly healthy, these cookies sneak in veggies with chocolate chips and oats for the perfect chewy treat.
👉 Easy Cherry Cookies Recipe for Summer
Sweet, fruity, and oh-so-pretty. These cherry-studded cookies are a summer dessert dream come true.
👉 Quick 20-Min Peanut Butter Cookies You’ll Crave
Fast, flavorful, and made with pantry staples, this no-fail recipe is your new go-to for peanut butter cookie perfection.

Ella Foster, co-founder of FoodBears.com, is a skilled writer whose love for cooking fuels her creative work. Her passion for experimenting in the kitchen brings authentic flavor and culinary inspiration to every piece she crafts for the platform.