
Building a clay pizza oven can be a rewarding project that enhances your cooking experience and adds rustic charm to your outdoor space.
In this article, I’ll share the top 10 DIY clay pizza oven ideas and inspiration to get you started.
Whether you’re a seasoned DIY enthusiast or a beginner, these ideas will provide the creativity and guidance needed to craft your pizza oven masterpiece.
Read more:
- The 8 Best Outdoor Pizza Ovens for Every Budget
- 6 Amazing Garden Pizza Oven Designs to Inspire
- 15 Inspiring Gift Ideas for Pizza Lovers
1. Build a Cob Clay Pizza Oven

I love building things with my hands, and a cob clay pizza oven is one of my favorite projects. It’s fun, and the results are delicious! Here’s how you can build one:
First, mix clay, sand, and straw. These materials form the base of your cob. You’ll need:
- Clay: 1 part
- Sand: 3 parts
- Straw: finely chopped
Create a base for your oven. You can use bricks or rocks for a sturdy foundation. Make sure it’s level. Then, shape the base in a circular form.
Next, build a sand dome. This will form the inside shape of your oven. Pack the sand tightly and cover it with wet newspaper.
Now, apply the cob mixture over the dome. Use your hands to press it firmly and smooth it out. Do this in layers, letting each layer dry before adding another.
To reinforce the structure, you can use metal mesh or wire mesh between the layers of the cob. This helps prevent cracking and adds strength.
For better insulation, you can add an insulating layer made from more straw and clay. This keeps the heat inside the oven, perfect for baking pizzas.
Finally, let the oven dry completely. This can take a few days to a week, depending on the weather. Once dry, fire up a small fire to cure the clay.
You can find a great guide on building a cob oven at Greenway Kitchen, which gives more details on this process.
2. Recycled Brick Clay Oven
One of my favorite projects is the Recycled Brick Clay Oven. Using recycled bricks not only saves money but also gives a unique, rustic look to your oven.
I started by gathering old bricks from my backyard. You’d be surprised how many you can find.
Here are the steps I followed:
- Foundation: I laid a sturdy base using a mix of gravel and sand to ensure stability.
- Layer One: I arranged the bricks in a circular pattern to create the base layer. This forms the oven floor.
- Clay Mix: As mentioned here, I made a clay slurry by mixing clay and water. Adding sand helps keep the clay from sticking.
For the oven walls:
- First Layer: I applied a thick layer of the clay mix over the brick base. Leave gaps for ventilation.
- Insulation Layer: As suggested here, I added ceramic fiber insulation to retain heat efficiently.
Don’t forget to add metal mesh in the clay for reinforcement. Firing the oven slowly will cure the clay and prepare it for use.
With effort and creativity, you can build a sturdy and beautiful Recycled Brick Clay Oven that cooks delicious pizzas. Enjoy the process, and happy building!
3. DIY Portable Clay Oven

I love the idea of making a portable clay oven. It’s a fun project, and you can enjoy delicious pizza anywhere!
To start, you’ll need fireclay, sand, and perlite. Mix them in equal parts with water until you get a pliable paste.
I use a flat, sturdy surface for the base. A metal sheet with handles is great for portability.
Build the oven walls by applying the clay mixture layer by layer. Ensure each layer dries thoroughly.
For added strength, incorporate metal mesh within the clay mortar, which helps prevent cracking.
Key Steps:
- Mix fireclay, sand, perlite (1:1:1 ratio)
- Shape on a portable base
- Layer and reinforce with metal mesh
Remember to keep it small enough to carry but large enough to cook a tasty pizza! Once built, gradually fire it up to cure and harden the clay.
Building a portable oven means enjoying homemade pizza wherever I go – a picnic, camping, or even a friend’s backyard!
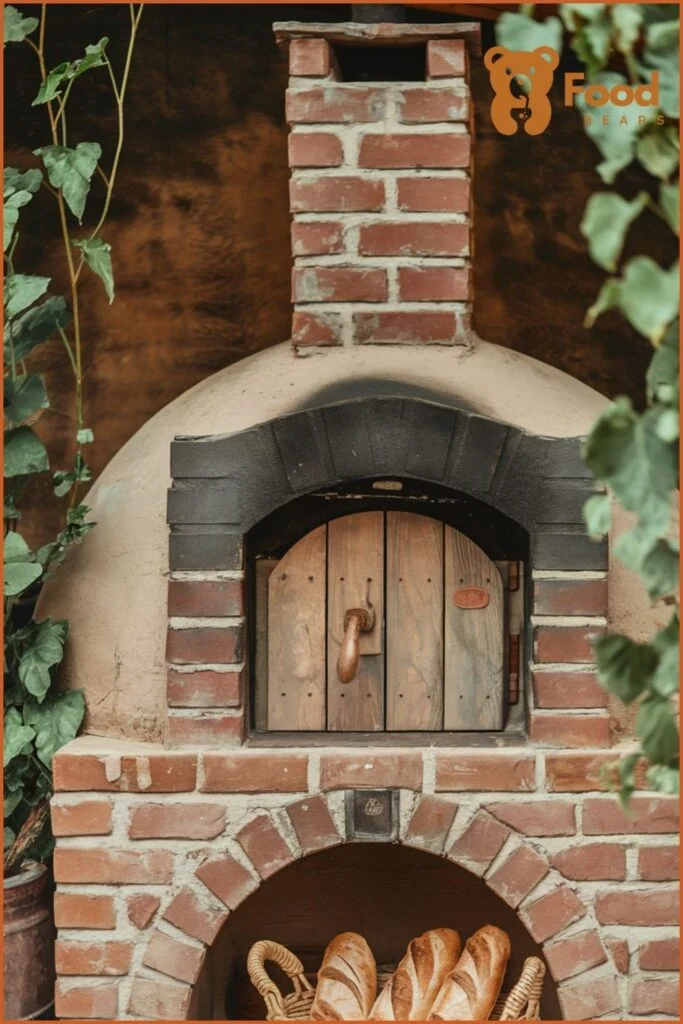
4. Rustic Outdoor Pizza Oven

I love the charm of a rustic outdoor pizza oven. It blends perfectly with nature and adds a warm, inviting feel to any backyard.
Key Features:
- Simple Materials: Use clay, straw, and sand. These natural materials are easy to find and inexpensive.
- Authentic Look: A hand-built, slightly uneven appearance gives it character.
- Excellent Insulation: The thick clay walls keep the heat in, which is perfect for cooking.
Step-by-Step Basics:
- Build the Base: Using bricks or stones, start with a strong foundation.
- Create the Dome: Pile damp sand into the shape of the oven’s dome. This will be your mold.
- Apply Clay Mixture: Mix clay, sand, and straw, then pat this mixture over the sand mold.
I picked a tip to make the inner layer thicker for better heat retention. This helps bake the perfect pizza crust.
Why I Love It
A rustic design reminds me of traditional, old-world cooking. Plus, it’s a fun project to do with family or friends.
Check out this DIY Wood-Fired Outdoor Pizza Oven tutorial for detailed guidelines on constructing your own. Its mix of personal touches and easy-to-follow directions make it a favorite of mine.
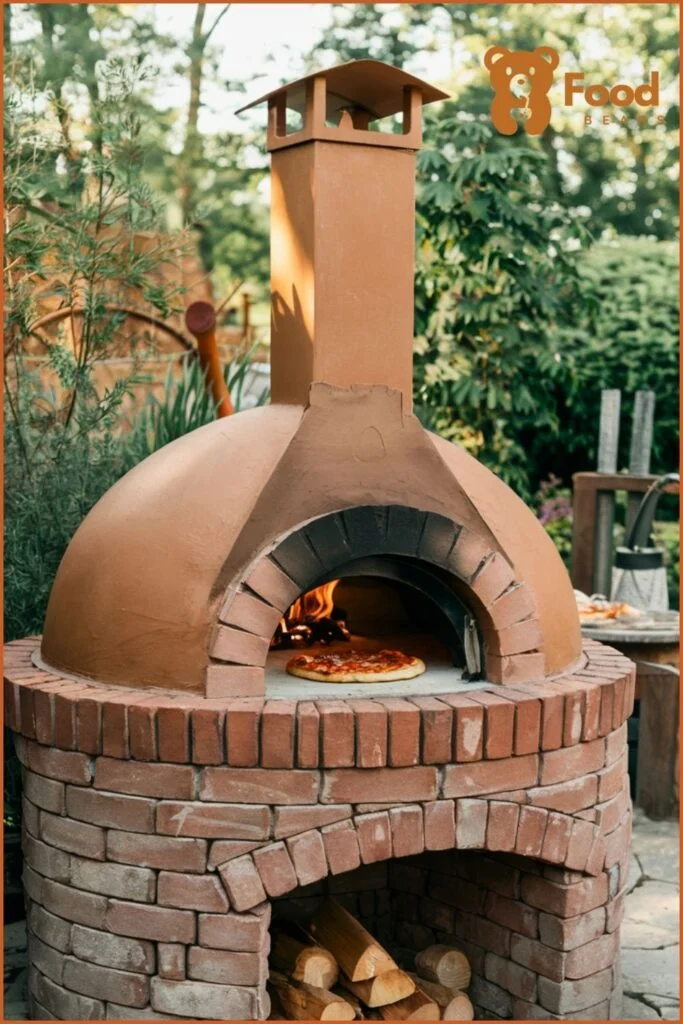
5. Natural Fireclay Pizza Oven

Building a natural fireclay pizza oven is an exciting project. I start by gathering natural fireclay from my local garden store or backyard.
With the fireclay, I mix in equal parts of perlite and sand. Next, I slowly add water to create a pliable paste.
Here’s a quick list of what you’ll need:
- 1 part fireclay
- 1 part perlite
- 1 part sand
- Water
I spread out a thick layer of sand to form the oven floor. I shape a circular base, compacting it well.
Once the base is set, I build the walls using clay mortar. I apply the mortar in layers, letting each layer dry thoroughly before adding the next one.
I add metal mesh to the mortar mix to strengthen the oven walls. This extra step helps prevent cracks from forming.
Lastly, I fire the oven by building a small fire inside, gradually increasing the temperature over several hours. This step is critical to curing the clay and ensuring the oven performs well.
For more details, check out this guide on crafting a clay pizza oven or another on making a clay pizza oven. These have lots of helpful pictures and tips.
6. Garden Clay Pizza Oven
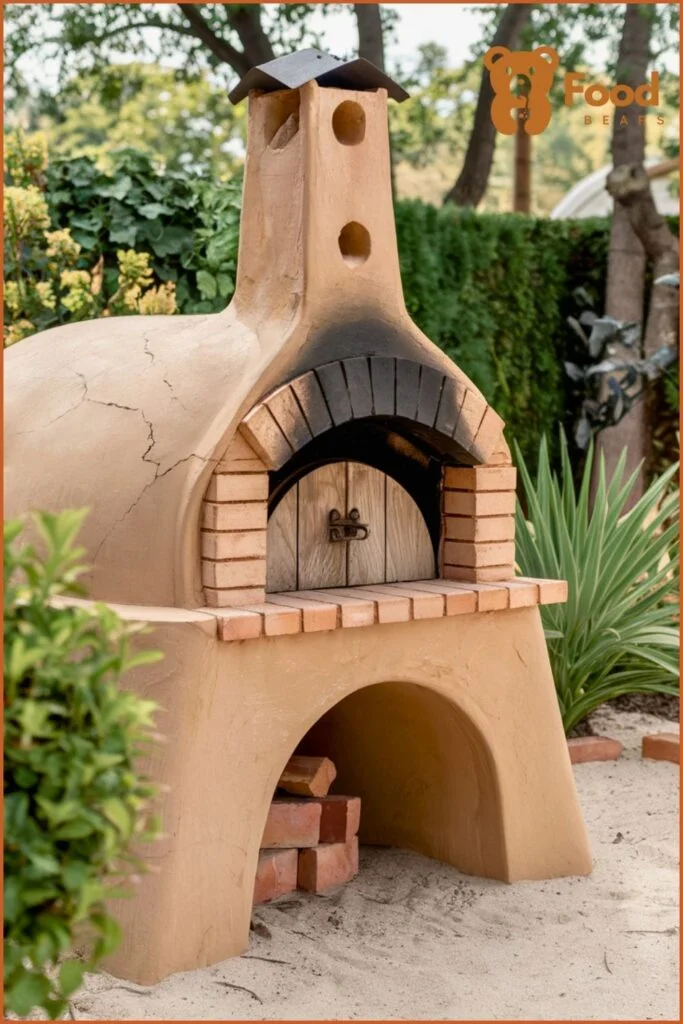
Creating a Garden Clay Pizza Oven can enhance your outdoor space. Starting with a solid base is crucial. I find using bricks for the foundation works well.
Mixing clay, sand, and water strengthens the oven walls. Be sure to let each layer dry thoroughly before adding the next, which will help prevent cracks.
Here’s a helpful quote: “Incorporate metal mesh into the clay mixture for added stability.” This tip helps keep your oven durable.
Materials Needed:
- Bricks
- Clay
- Sand
- Water
- Metal mesh
Building the oven floor is simple. Spread a layer of sand and shape it into a circle. This will act as your base. Next, construct the dome by layering the clay mixture.
Firing the oven is an important step. Gradually increase the temperature over several hours. This process cures the clay and ensures optimal performance.
Temperature Guide:
- Start: Small fire
- Gradual increase: 800-1000°F
- Duration: 8-12 hours
Lastly, a garden clay pizza oven bakes delicious pizzas and adds a rustic charm to your garden. Happy building!
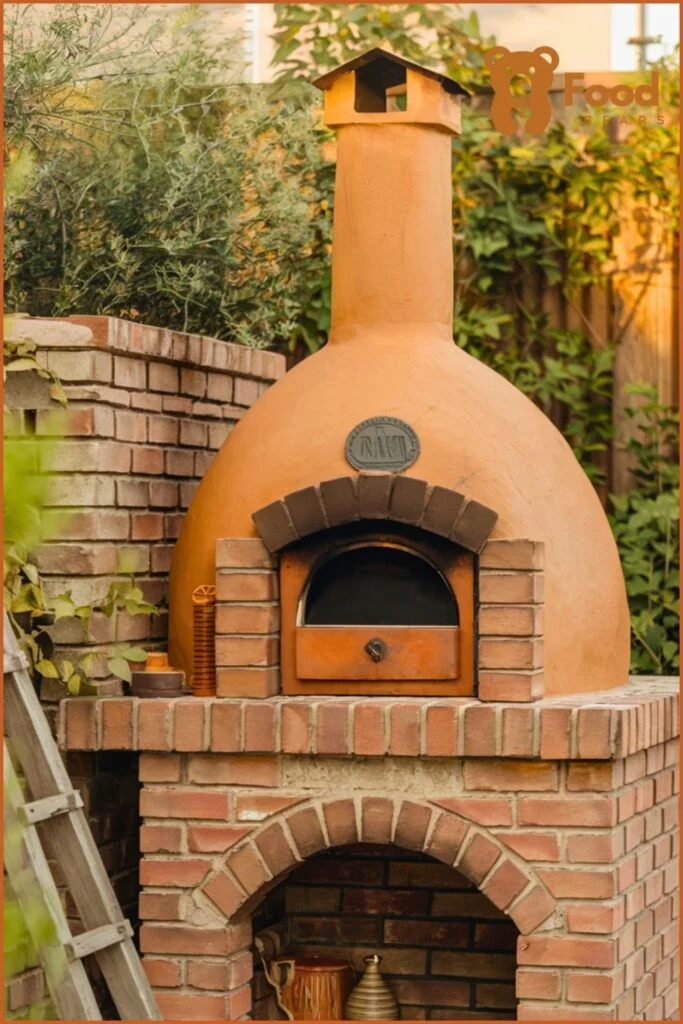
7. DIY Brick and Clay Combo Oven
I love the blend of brick and clay for building a pizza oven. Bricks provide strength, while clay offers good insulation.
First, I use firebricks to form the base. These bricks can withstand high temperatures and are laid out solidly and stable.
Next, I construct the oven walls using clay. Clay is easy to mold and creates a natural look. I mix it well, so it’s smooth and workable.
Key Steps:
- Use firebricks or recycled bricks for the base.
- Mix the clay thoroughly.
- Build the walls with damp clay.
This combination keeps the oven durable and efficient. Using recycled bricks for the exterior adds a rustic charm that fits perfectly in any garden setting. Plus, it’s eco-friendly and cost-effective.
Benefits:
- Strong base with bricks.
- Sound insulation from clay.
- Eco-friendly and rustic look.
8. Small Backyard Clay Oven
Creating a small backyard clay oven is fun and rewarding. It’s perfect for those with limited space.
First, gather your materials. You’ll need clay, sand, water, and bricks. Mixing the clay and sand to form a sturdy base is crucial.
Here’s a quick list of steps:
- Build the base: Use bricks to form a solid foundation.
- Form the oven shape: Utilize a sand form as a mold.
- Apply the clay mix: Layer the clay-sand mixture evenly.
- Let it dry: Ensure each layer dries thoroughly.
I found that adding wire mesh helps reinforce the structure, preventing cracks. This detail is highlighted in this guide.
Inspired by this instructable, I dug clay from my garden, adding a personal touch.
Pro tip: Monitor the drying process closely. If you rush, the oven may crack.
Remember, a small backyard oven can still bake delicious pizza. A good friend once said, “The best pizzas come from the heart, not the size of the oven.”
Following these simple steps, you can create a cozy clay oven perfect for intimate gatherings and delicious homemade pizzas.
Here’s a simple table to visualize:
| Steps | Materials Needed |
|---|---|
| Build the base | Bricks |
| Form the oven shape | Sand |
| Apply the clay mix | Clay, sand, water, wire mesh |
| Dry the layers | Time |

Ella Foster, co-founder of FoodBears.com, is a skilled writer whose love for cooking fuels her creative work. Her passion for experimenting in the kitchen brings authentic flavor and culinary inspiration to every piece she crafts for the platform.