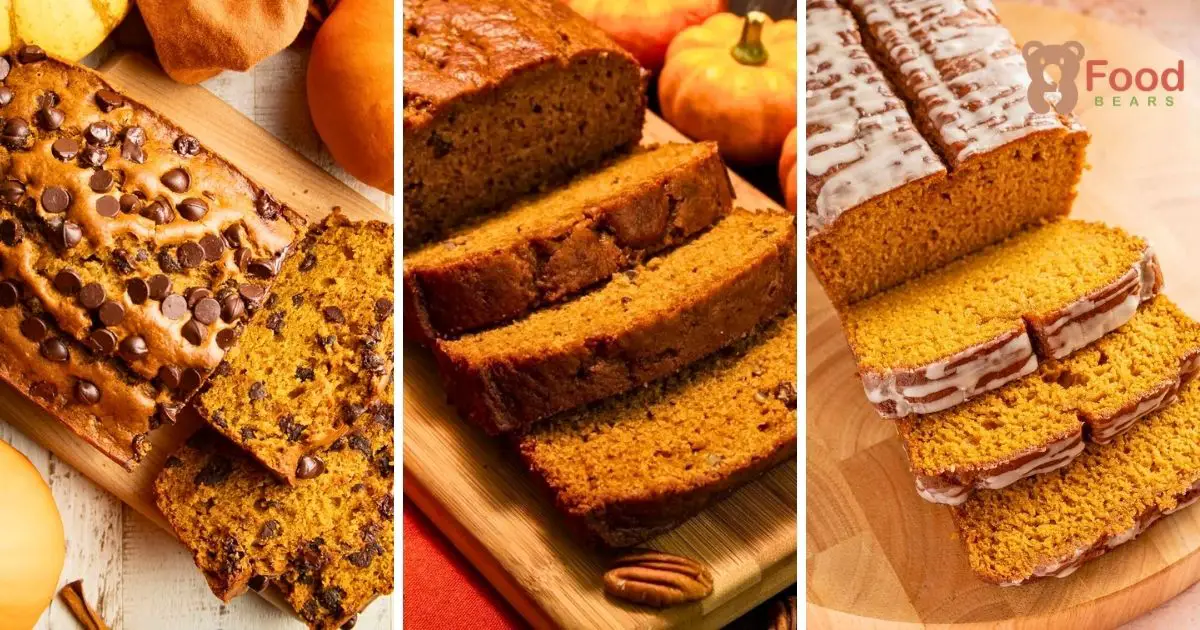
There’s something magical about the cozy scent of warm spices, pumpkin, and freshly baked bread filling your home.
That’s precisely what you’ll get with this soft, moist, and flavorful pumpkin bread recipe.
Whether you’re a baking newbie or a seasoned pro, this guide will walk you through every step with warmth, ease, and practical tips.
Let’s whip up a loaf of pumpkin goodness that’s not just easy but unforgettable!
🍁 Why You’ll Love This Pumpkin Bread Recipe
If you’re a fan of all things cozy, this pumpkin bread is about to become your go-to bake. It’s the kind of recipe that delivers a bakery-quality loaf without the stress.
With a soft, moist texture and that signature pumpkin spice aroma, it checks all the fall boxes and then some.
Here’s why it’s so lovable:
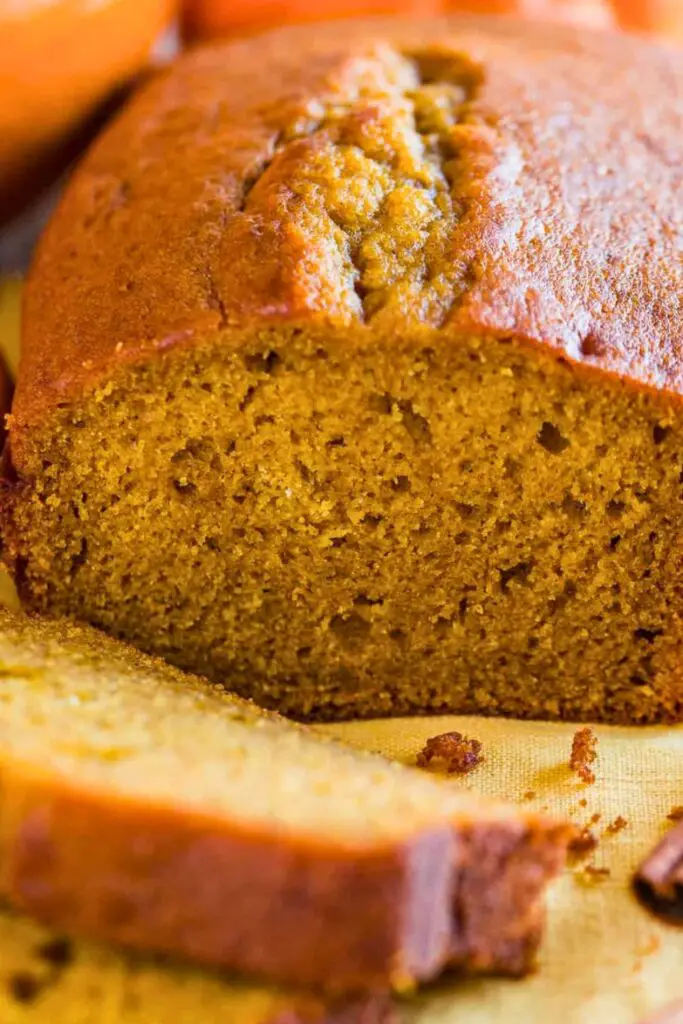
- Ridiculously moist and fluffy – Thanks to pumpkin puree and oil, each slice is tender and melt-in-your-mouth soft. No dry crumbs here!
- Big on pumpkin flavor – This isn’t a lightly flavored loaf. The pumpkin shines through beautifully and pairs perfectly with warm, spicy notes.
- One bowl, no mixer needed – No fancy equipment required. Just grab your whisk and go!
- Customizable – Whether you love chocolate chips, nuts, or prefer it plain, this recipe is adaptable to your taste.
- Great for gifts and freezing – It keeps beautifully, makes thoughtful edible gifts, and freezes like a dream.
This pumpkin bread brings you comfort with every slice, without requiring any professional baking skills. Whether you’re baking it on a Sunday morning or whipping up a quick gift loaf, this recipe is a winner.
🧾 Ingredients You’ll Need

Below is a complete breakdown of the ingredients used in this recipe, along with helpful details to guide you through your shopping or pantry prep.
✅ Pumpkin Bread Ingredients
| Ingredient | Measurement | Why It Matters |
|---|---|---|
| All-purpose flour | 1¾ cups (210g) | Provides structure; too much = dry bread, so measure carefully |
| Baking soda | 1 tsp | The hero of the recipe provides moisture, color, and flavor |
| Baking powder | ½ tsp | Helps with lift and gives a lighter texture |
| Salt | ½ tsp | Enhances and balances the sweet and spicy flavors |
| Ground cinnamon | 2 tsp | Classic warming spice for fall flavor |
| Ground nutmeg | ¼ tsp | Adds warmth and a touch of earthy sweetness |
| Pumpkin puree | 1⅓ cups (300g) | The hero of the recipe; provides moisture, color, and flavor |
| Vegetable oil | ⅔ cup | Keeps the bread incredibly moist and tender |
| Granulated sugar | 1¼ cups (250g) | Sweetens and helps with texture; can substitute half with brown sugar |
| Eggs | 2 large | Binds ingredients and provides structure |
| Vanilla extract | 1 tsp | Adds subtle depth and enhances the overall flavor |
Optional Add-Ins:
- Chocolate chips (semi-sweet, dark, or mini)
- Toasted chopped nuts (walnuts, pecans)
- Dried cranberries
- Pumpkin seeds on top for texture
📝 Note: Always use pure pumpkin puree, not pumpkin pie filling. The latter contains sugar and spices that will throw off the flavor and moisture.
🛠️ Recommended Tools for Best Results
This recipe is beginner-friendly and doesn’t require fancy tools. But here’s what helps ensure success:
| Tool | Why You Need It |
|---|---|
| Kitchen scale | A whisk helps mix everything easily; a spatula is perfect for folding and scraping |
| 9×5 or 8.5×4.5 loaf pan | Standard loaf pans—either size works fine |
| Mixing bowls (2) | One for wet, one for dry ingredients |
| Whisk + Spatula | To test doneness, it should come out clean from the center of the loaf |
| Parchment paper | Makes removing the loaf easy and mess-free |
| Baking spray | To test doneness, it should come out clean from center of the loaf |
| Toothpick/skewer | Helps prevent sticking; essential when using parchment on only the bottom or sides. |
| Cooling rack | Allows air circulation for even cooling |
Pro Tip: Want a prettier loaf? Sprinkle a little cinnamon sugar or pumpkin seeds on top before baking for texture and sparkle.
👩🍳 Step-by-Step: How to Make Pumpkin Bread from Scratch
This pumpkin bread recipe is all about simplicity, flavor, and that irresistible bakery-style texture. No fancy mixers or complicated methods required, just a few bowls, a spatula, and your cozy fall vibes.
Let’s walk through each step in detail to ensure you get the perfect, moist pumpkin bread every single time.
Step 1: Preheat and Prep Like a Pro
Before you even begin, set your oven to 350°F (175°C). This gives it plenty of time to preheat while you assemble your batter.
Now let’s talk about prepping the pan.
You can use either:
- A standard 9×5-inch loaf pan, or
- A slightly smaller 8.5×4.5-inch pan
Both work well! The smaller pan yields a taller loaf with a more domed top, while the larger one produces a flatter profile. Totally up to your preference.
Line the pan with parchment paper, covering the bottom and two long sides, leaving “handles” that hang over the edges. This makes it extremely easy to lift the loaf out after baking, eliminating the need for flipping or worrying that it won’t release.
Lightly spray the exposed sides of the pan with baking spray for extra insurance. Trust us, your future self will thank you.
Step 2: Mix the Dry Ingredients
Let’s talk flour for a second. This is where most quick breads can go from perfect to meh—too much flour results in a dry, dense pumpkin brick. So accuracy matters here.
In a large mixing bowl, add:
- 1¾ cups (210g) of all-purpose flour
Pro tip: If you have a kitchen scale, use it! If not, here’s how to measure correctly with a cup:
- Fluff up the flour in the container with a spoon.
- Lightly spoon it into your measuring cup.
- Level it off with a straight edge (like a knife).
Never scoop directly from the bag. That compresses the flour and adds way too much.
Then whisk in:
- 1 tsp baking soda
- ½ tsp baking powder
- ½ tsp salt
- 2 tsp cinnamon
- ¼ tsp nutmeg
These spices are the soul of the bread, giving it that classic fall warmth. Feel free to tweak them to your taste. Want more complexity? Add:
- ¼ tsp cardamom
- A pinch of cloves, ginger, or allspice
- Or use pumpkin pie spice (2–3 tsp) if that’s what you have on hand
Whisk everything together until the mixture is uniform and fragrant. Set the bowl aside.
Step 3: Mix the Wet Ingredients
Now for the star of the show: pumpkin puree. Not only does it bring that classic pumpkin flavor, but it’s also what makes this bread ultra-soft and moist.
In a separate bowl, combine:
- 1⅓ cups (300g) pumpkin puree (NOT pumpkin pie filling!)
- ⅔ cup vegetable oil (or melted butter if you prefer)
- 1¼ cups (250g) granulated sugar
- 2 large eggs
- 1 tsp vanilla extract
Whisk everything together until smooth and glossy. The batter will look thick and golden orange, like autumn in a bowl.
Oil vs. butter:
- Oil gives you a super moist texture that stays soft, even when cool.
- Melted butter adds rich flavor, but firms up as it cools. This is better if you plan to reheat the slices later.
Want to add more flavor? You can swap half of the white sugar for brown sugar for a caramel-like note. Avoid using only brown sugar; it adds too much moisture and disrupts the structure.
This wet mixture is also fun and easy to stir, making it perfect if you’ve kids helping in the kitchen.
Step 4: Combine Wet and Dry Mixtures (Gently!)
This is the most delicate part of the recipe, and it’s where most baking disasters occur.
Pour the wet ingredients into the bowl of dry ingredients.
Now pause. Resist the urge to stir wildly.
Instead, use a spatula or wooden spoon to combine the two mixtures gently. Scrape down the sides and bottom of the bowl to ensure everything is incorporated.
Stop mixing once there are no big pockets of dry flour left. A few streaks are okay.
Overmixing = gummy, rubbery bread.
What you want is a light hand here, just enough to combine without overworking the gluten in the flour.
Step 5: Add Optional Mix-Ins (Totally Up to You)
This pumpkin bread is delicious on its own, but it’s also a great blank canvas for mix-ins.
Here are a few crowd-favorite add-ins:
- ¾ cup chocolate chips (dark, semi-sweet, or mini)
- ½ cup chopped toasted walnuts or pecans
- ¼ cup dried cranberries
- Pumpkin seeds for the top
If you’re adding anything, do it right before the last few folds of your batter. This helps distribute them evenly without overmixing.
Want to keep it classic? Skip the extras. The plain version is just as heavenly.
Step 6: Transfer Batter to the Pan
Now that your batter is ready, pour it into your prepared loaf pan.
Use a spatula to scrape the sides of the bowl and smooth out the top of the batter.
Give the pan a gentle shake or tap on the counter to settle the batter and remove any big air bubbles.
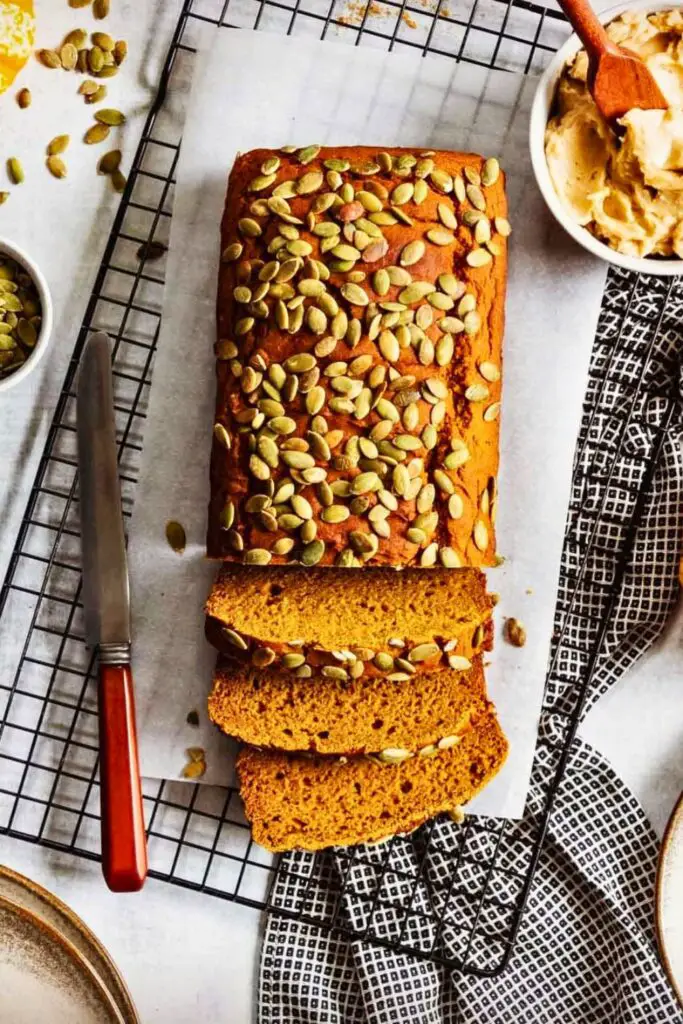
If you’re feeling extra fancy, sprinkle a little cinnamon sugar or a handful of pumpkin seeds on top for visual flair and added crunch.
Step 7: Bake It Right
Place your pan in the preheated oven and bake at 350°F (175°C) for 55-65 minutes.
Every oven runs a little differently, so begin checking at the 50-minute mark.
Your loaf is done when:
- The top is golden brown and slightly domed
- It springs back when gently pressed in the center
- A toothpick inserted into the center comes out clean or with just a few moist crumbs
If the top is browning too quickly, loosely tent the loaf with foil halfway through baking. This keeps the top from over-darkening while the center continues to bake.
Step 8: Cool Before Slicing
Once your pumpkin bread is done baking, remove it from the oven and place the pan on a cooling rack.
Let it cool in the pan for about 15–20 minutes.
After that, use the parchment handles to lift the bread out and place it directly on the rack to cool completely.
As tempting as it’s to dive in right away, wait until it has cooled completely before slicing. The crumb sets better, and the texture will be much cleaner.
That said, if you sneak a warm slice with a little butter or drizzle of maple syrup, we get it. 😉
🍞 Bonus: Storing & Serving Tips
Your pumpkin bread is ready to enjoy! Here’s how to keep it fresh:
| Storage Option | Shelf Life | Tip |
|---|---|---|
| Room Temperature | 2–3 days | Store in an airtight container |
| Fridge | 1 week | Keeps well if tightly wrapped |
| Freezer | Up to 3 months | Slice, wrap individually, and thaw as needed |
To reheat: Pop slices in the microwave for 10–15 seconds for that “just-baked” softness.
🎃 Fun Pumpkin Bread Variations to Try
Want to take your pumpkin bread to the next level? The base recipe is soft, spiced, and versatile enough to accommodate a wide range of delicious add-ins.
Here’s a handy table of ideas based on your cravings and ingredients on hand:
| Variation | What to Add | Flavor Profile |
|---|---|---|
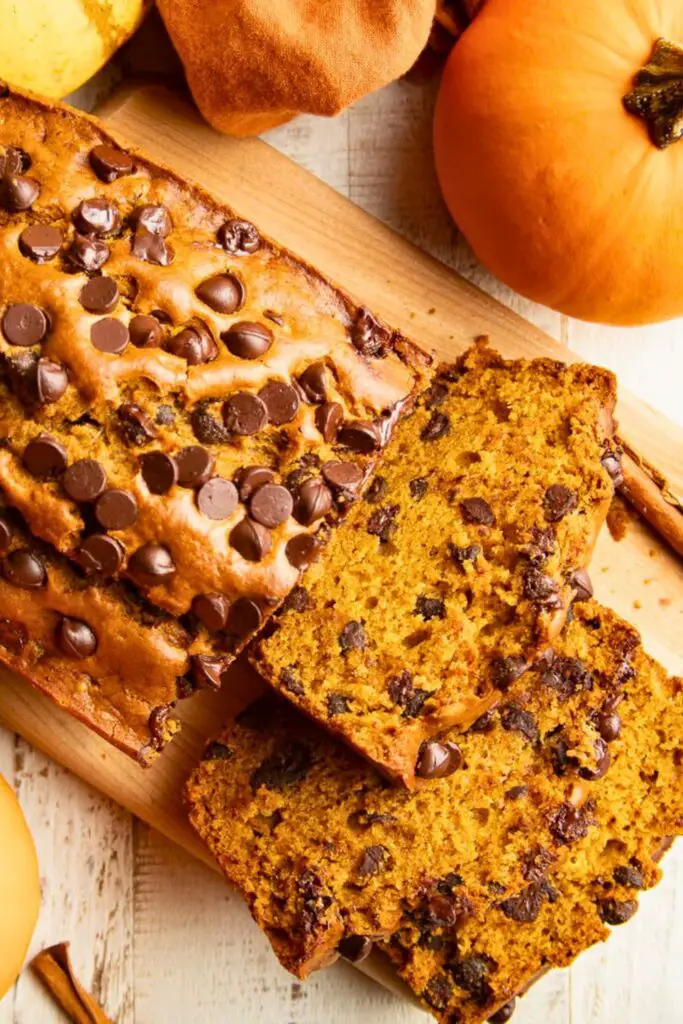
| Chocolate Chip Pumpkin Bread | ½–¾ cup semi-sweet or dark chocolate chips | Sweet, rich, and kid-approved |
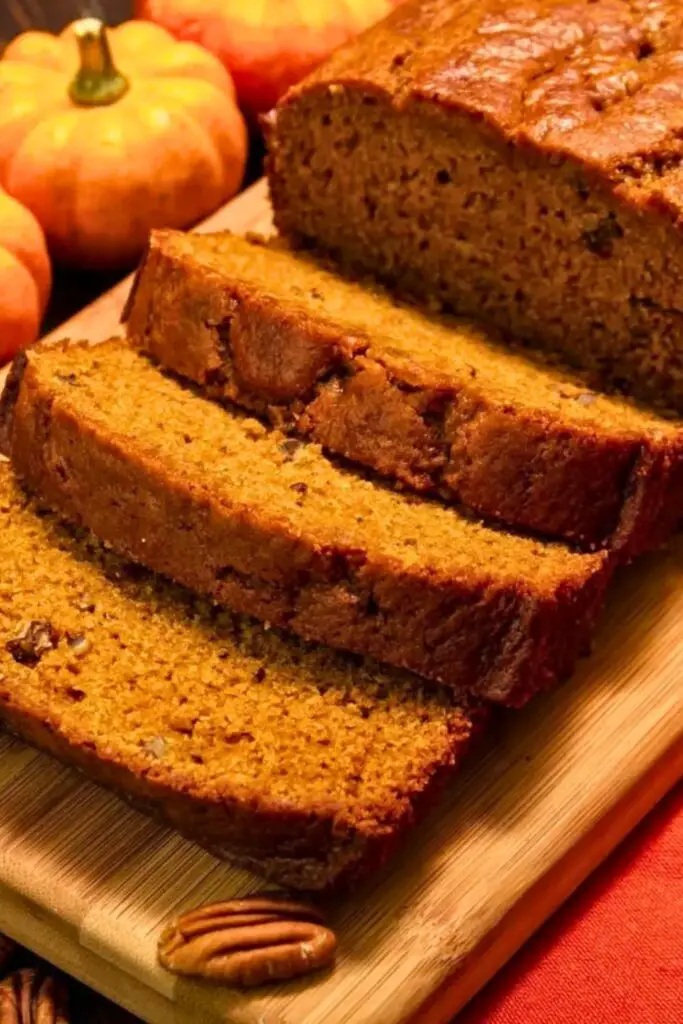
| Pumpkin Nut Bread | ½ cup toasted walnuts or pecans | Crunchy and toasty with a rustic vibe |
| Cranberry Pumpkin Bread | ⅓ cup dried cranberries or cherries | Use 1:1 gluten-free flour (like Bob’s Red Mill) |
| Pumpkin Cream Cheese Swirl | Swirl in sweetened cream cheese before baking | Tangy, rich, and dessert-worthy |
| Pumpkin Streusel Bread | Top with cinnamon oat or brown sugar streusel | Bakery-style crumb topping and extra crunch |
| Gluten-Free Pumpkin Bread | Dairy-free and eggless | Celiac-friendly with the same softness |
| Vegan Pumpkin Bread | Sub eggs with flax eggs, and use plant-based milk if needed | Totally dairy-free and eggless |
| Pumpkin Seed Crust | Sprinkle raw pepitas on top before baking | Nutty, pretty, and adds texture |
✨ Pro tip: Add mix-ins right before the final folding step in the batter. Don’t overmix after adding them!
🎁 How to Turn This Pumpkin Bread into a Homemade Gift
Looking for a thoughtful and affordable homemade gift? Pumpkin bread is a perfect choice. It’s heartwarming, delicious, and feels just like a cozy hug in loaf form. Here’s how to turn it into a beautiful present.
🧡 Step-by-Step Gifting Guide
- Bake your loaf the day before gifting for peak freshness.
- Let it cool completely. You don’t want trapped steam to cause sogginess or mold.
- Wrap it right:
- For a rustic look: Wrap the loaf in parchment paper and tie it with twine or a ribbon.
- For a polished finish, use a clear cellophane bag or a kraft bakery box and include a fall-themed sticker or a handwritten label.
- Add a tag with:
- The loaf name (“Pumpkin Bread with Chocolate Chips”)
- The date it was baked
- Storage tips (e.g., “Keep refrigerated for up to 1 week”)
- Optional extras:
- A little jar of honey butter or maple cream
- A cinnamon stick or mini pumpkin for fall flair
- A handwritten recipe card so they can make it themselves!
🎉 Perfect Occasions for Gifting
- Teacher or neighbor appreciation
- Thanksgiving or Friendsgiving hostess gifts
- Fall-themed bridal or baby shower favors
- Housewarming baskets
- Just-because gestures for friends or coworkers
🎀 Pro tip: You can even bake mini loaves using smaller pans and gift several at once!
🍂 Final Thoughts
Baking this soft, flavorful pumpkin bread is like capturing the essence of autumn in loaf form. It’s cozy, easy, and irresistibly delicious.
Whether you eat it fresh from the oven or enjoy a frozen slice with coffee on a busy morning, it’s a recipe that keeps on giving.
So grab a can of pumpkin, warm up your oven, and treat yourself – you deserve it.
🍁 You May Also Love:
If you enjoyed this pumpkin bread, check out these other fall favorites:
- 👉 Tasty Fall Pumpkin Roll Recipe You Must Try
A soft sponge cake rolled with rich cream cheese filling, perfect for holiday tables. - 👉 Cozy Pumpkin Cake Recipe Perfect for Fall
Moist, spiced, and topped with luscious buttercream, this one’s a showstopper. - 👉 Best Pumpkin Pancakes Recipe for Fall Mornings
Fluffy, golden, and full of flavor, your weekend breakfasts just got an upgrade!

Ella Foster, co-founder of FoodBears.com, is a skilled writer whose love for cooking fuels her creative work. Her passion for experimenting in the kitchen brings authentic flavor and culinary inspiration to every piece she crafts for the platform.